Good morning, lovelies! I’m FINALLY sharing a detailed guide of how I curl my hair! Whether you have short, long, or medium-length hair this will work for you! I’ve had lots of requests to share this tutorial and I thought there was no better time than being thick in the trenches of post-partum hair loss. HaHa! A couple months after delivering all of my babies, the hormones drop and my hair falls out by the handful for 3 solid months. I didn’t take any extra supplements or use any products that help repair the hair loss. Since this 4th baby isn’t my first rodeo I know that my hair always grows back. It take a few years for all the length to even out. I simply take a generic daily multivitamin and try to keep those awkward baby hairs contained.
Also! For those who’ve asked about my hair color, my hubby Aaron colors my hair. Yeah, he’s a dentist-turning-orthodontist and he highlights my hair with about 60 foils. I like the bleach to be microweaved through and then he’ll slice it in towards the back since I don’t mind and we’re usually tired and ready for it to be over. My hair has accidentally been every scale on the rainbow spectrum! I’ve shed tears and it’s probably a lot more damaged than it should be but it’s been such a money-saving option for us! He’s still in residency school full-time and I’m stubborn about staying blonde, so we compromised and learned how to color hair at home through youtube. Go ahead, I know you wanna laugh. I’m laughing with you 😉 .
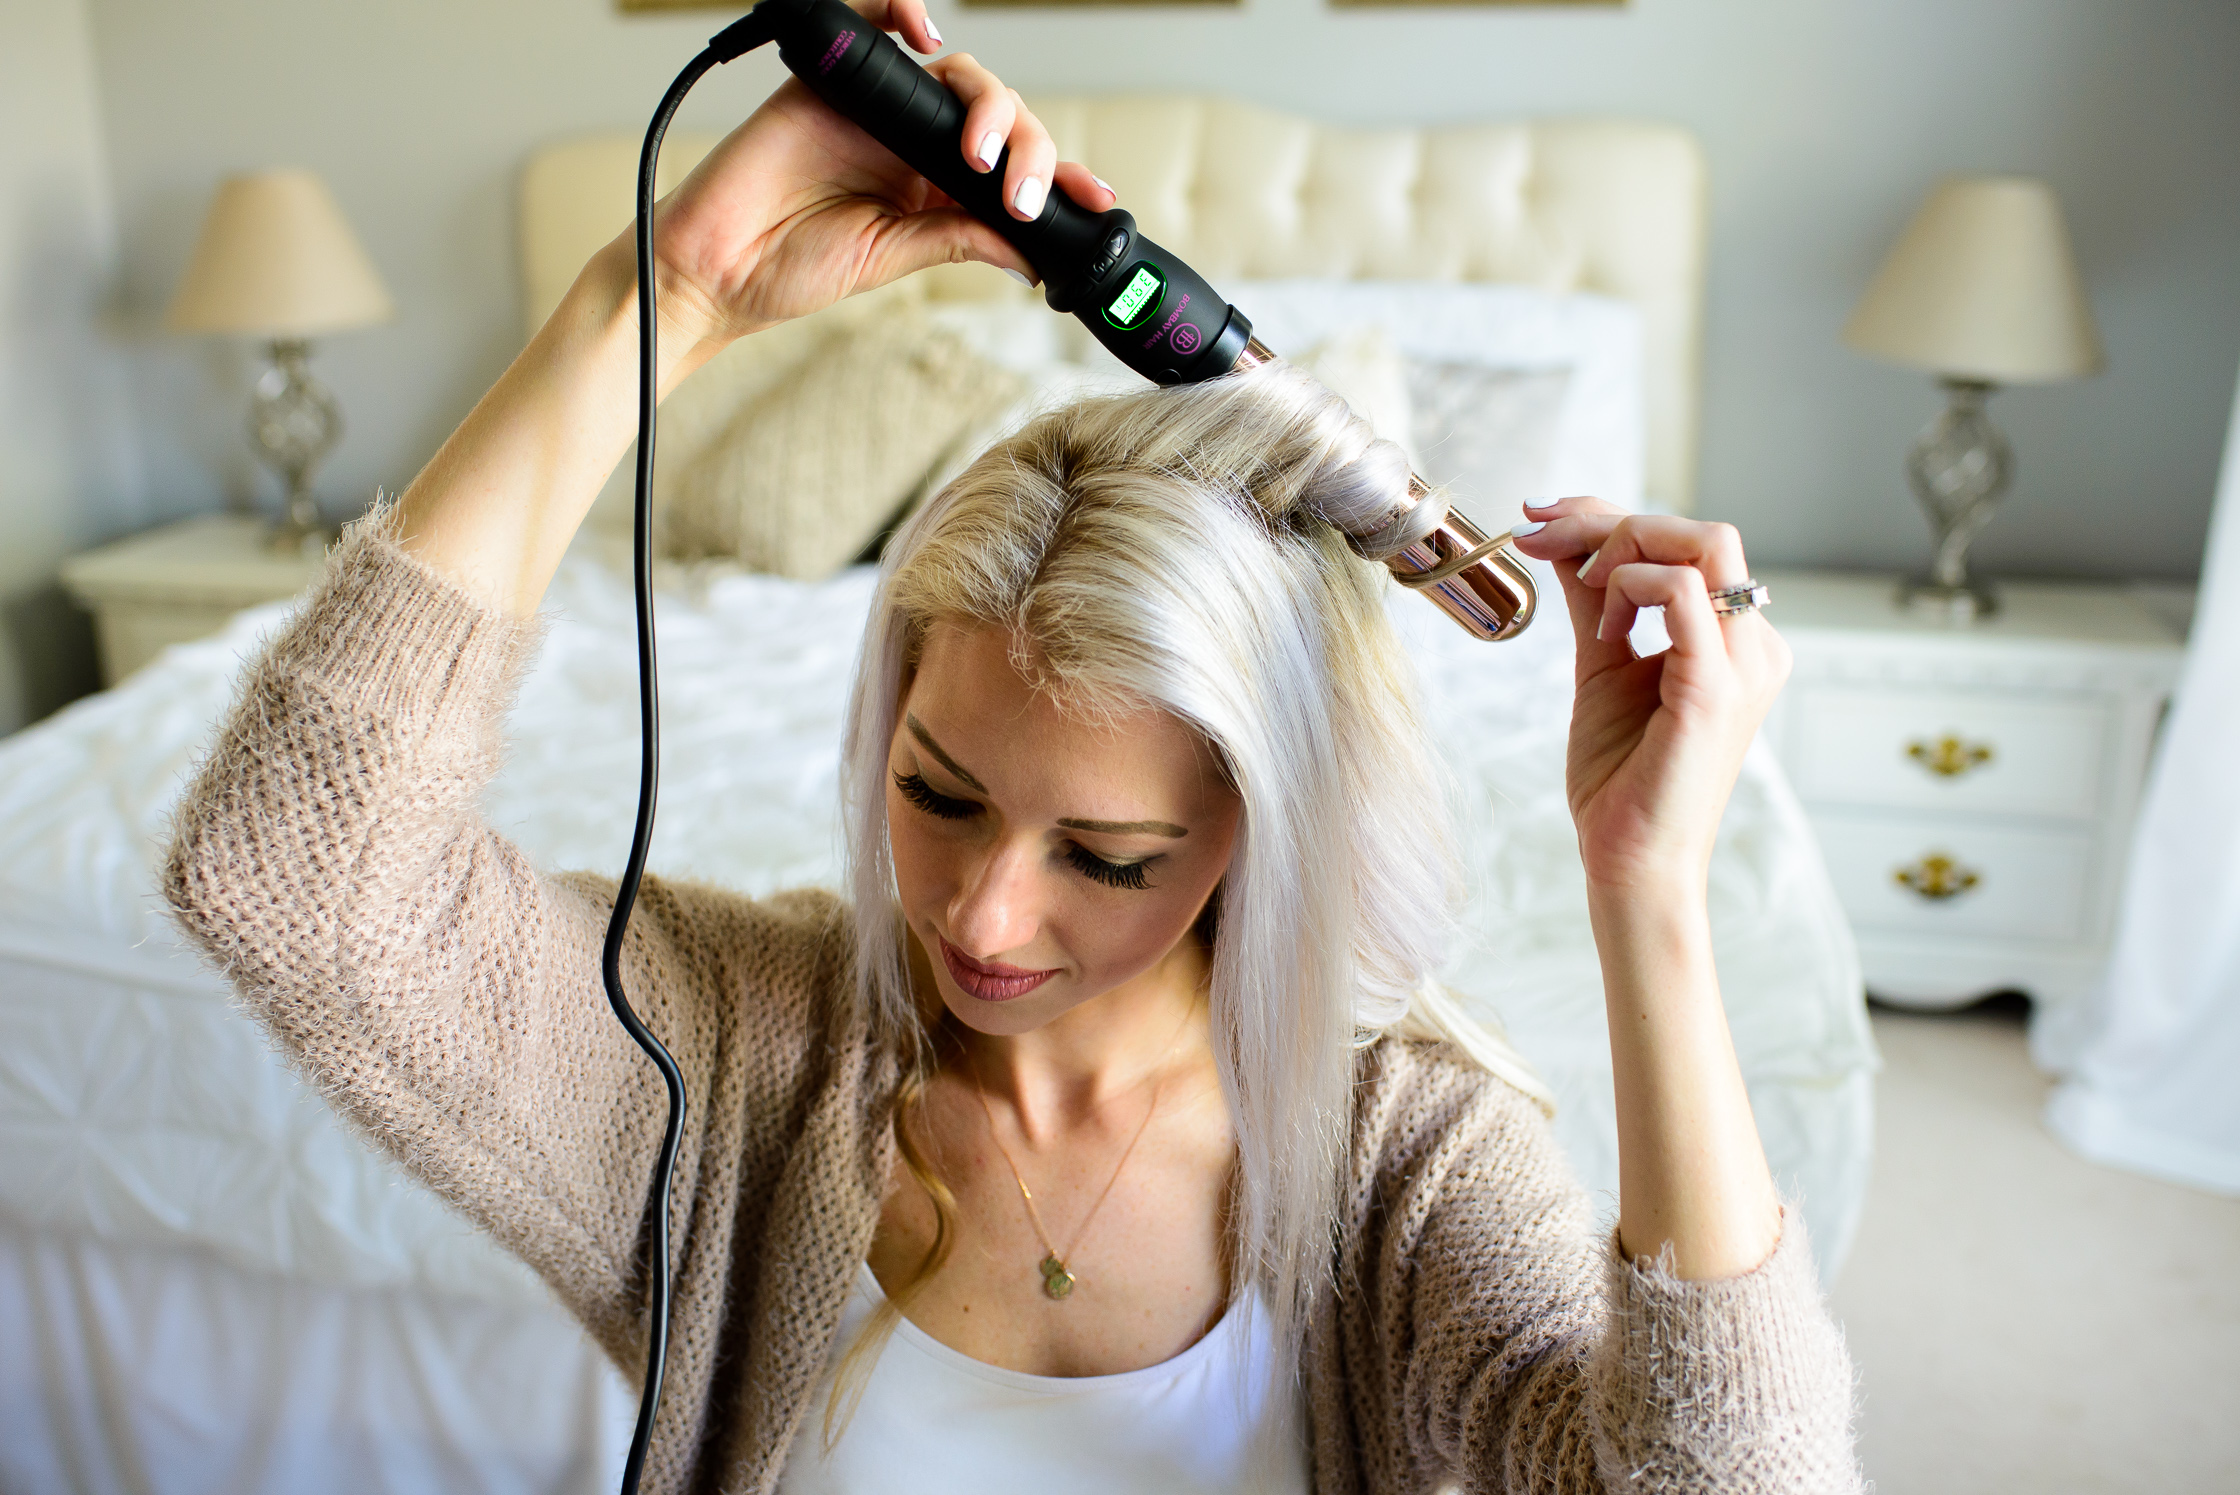
There are SO many ways to achieve gorgeous curls. I still haven’t forgotten how uncomfortable it was to sleep in those pink spongey/plastic curlers. To achieve the curls that I have, I never use the clamp on a curling iron. A friend recently told me about curling wands! I’ve seen the craze but I just couldn’t quit my curling iron. After trying out this 32mm rose gold curling wand by Bombay I’m hooked! I chose the bigger size of their 2 options to obtain that piece-y, loose curl. The first thing I noticed is that I didn’t need to shift my curl while it was being ironed to avoid the inevitable crease left by the clamp. That was a really annoying step with every single curl! Also, I really LOVE that the base of the extension easily swivels out of the way while I curl. These 2 small things makes curling with a wand so much more appealing! Use code CROSS50 for 50% off all hot tools from Bombay!
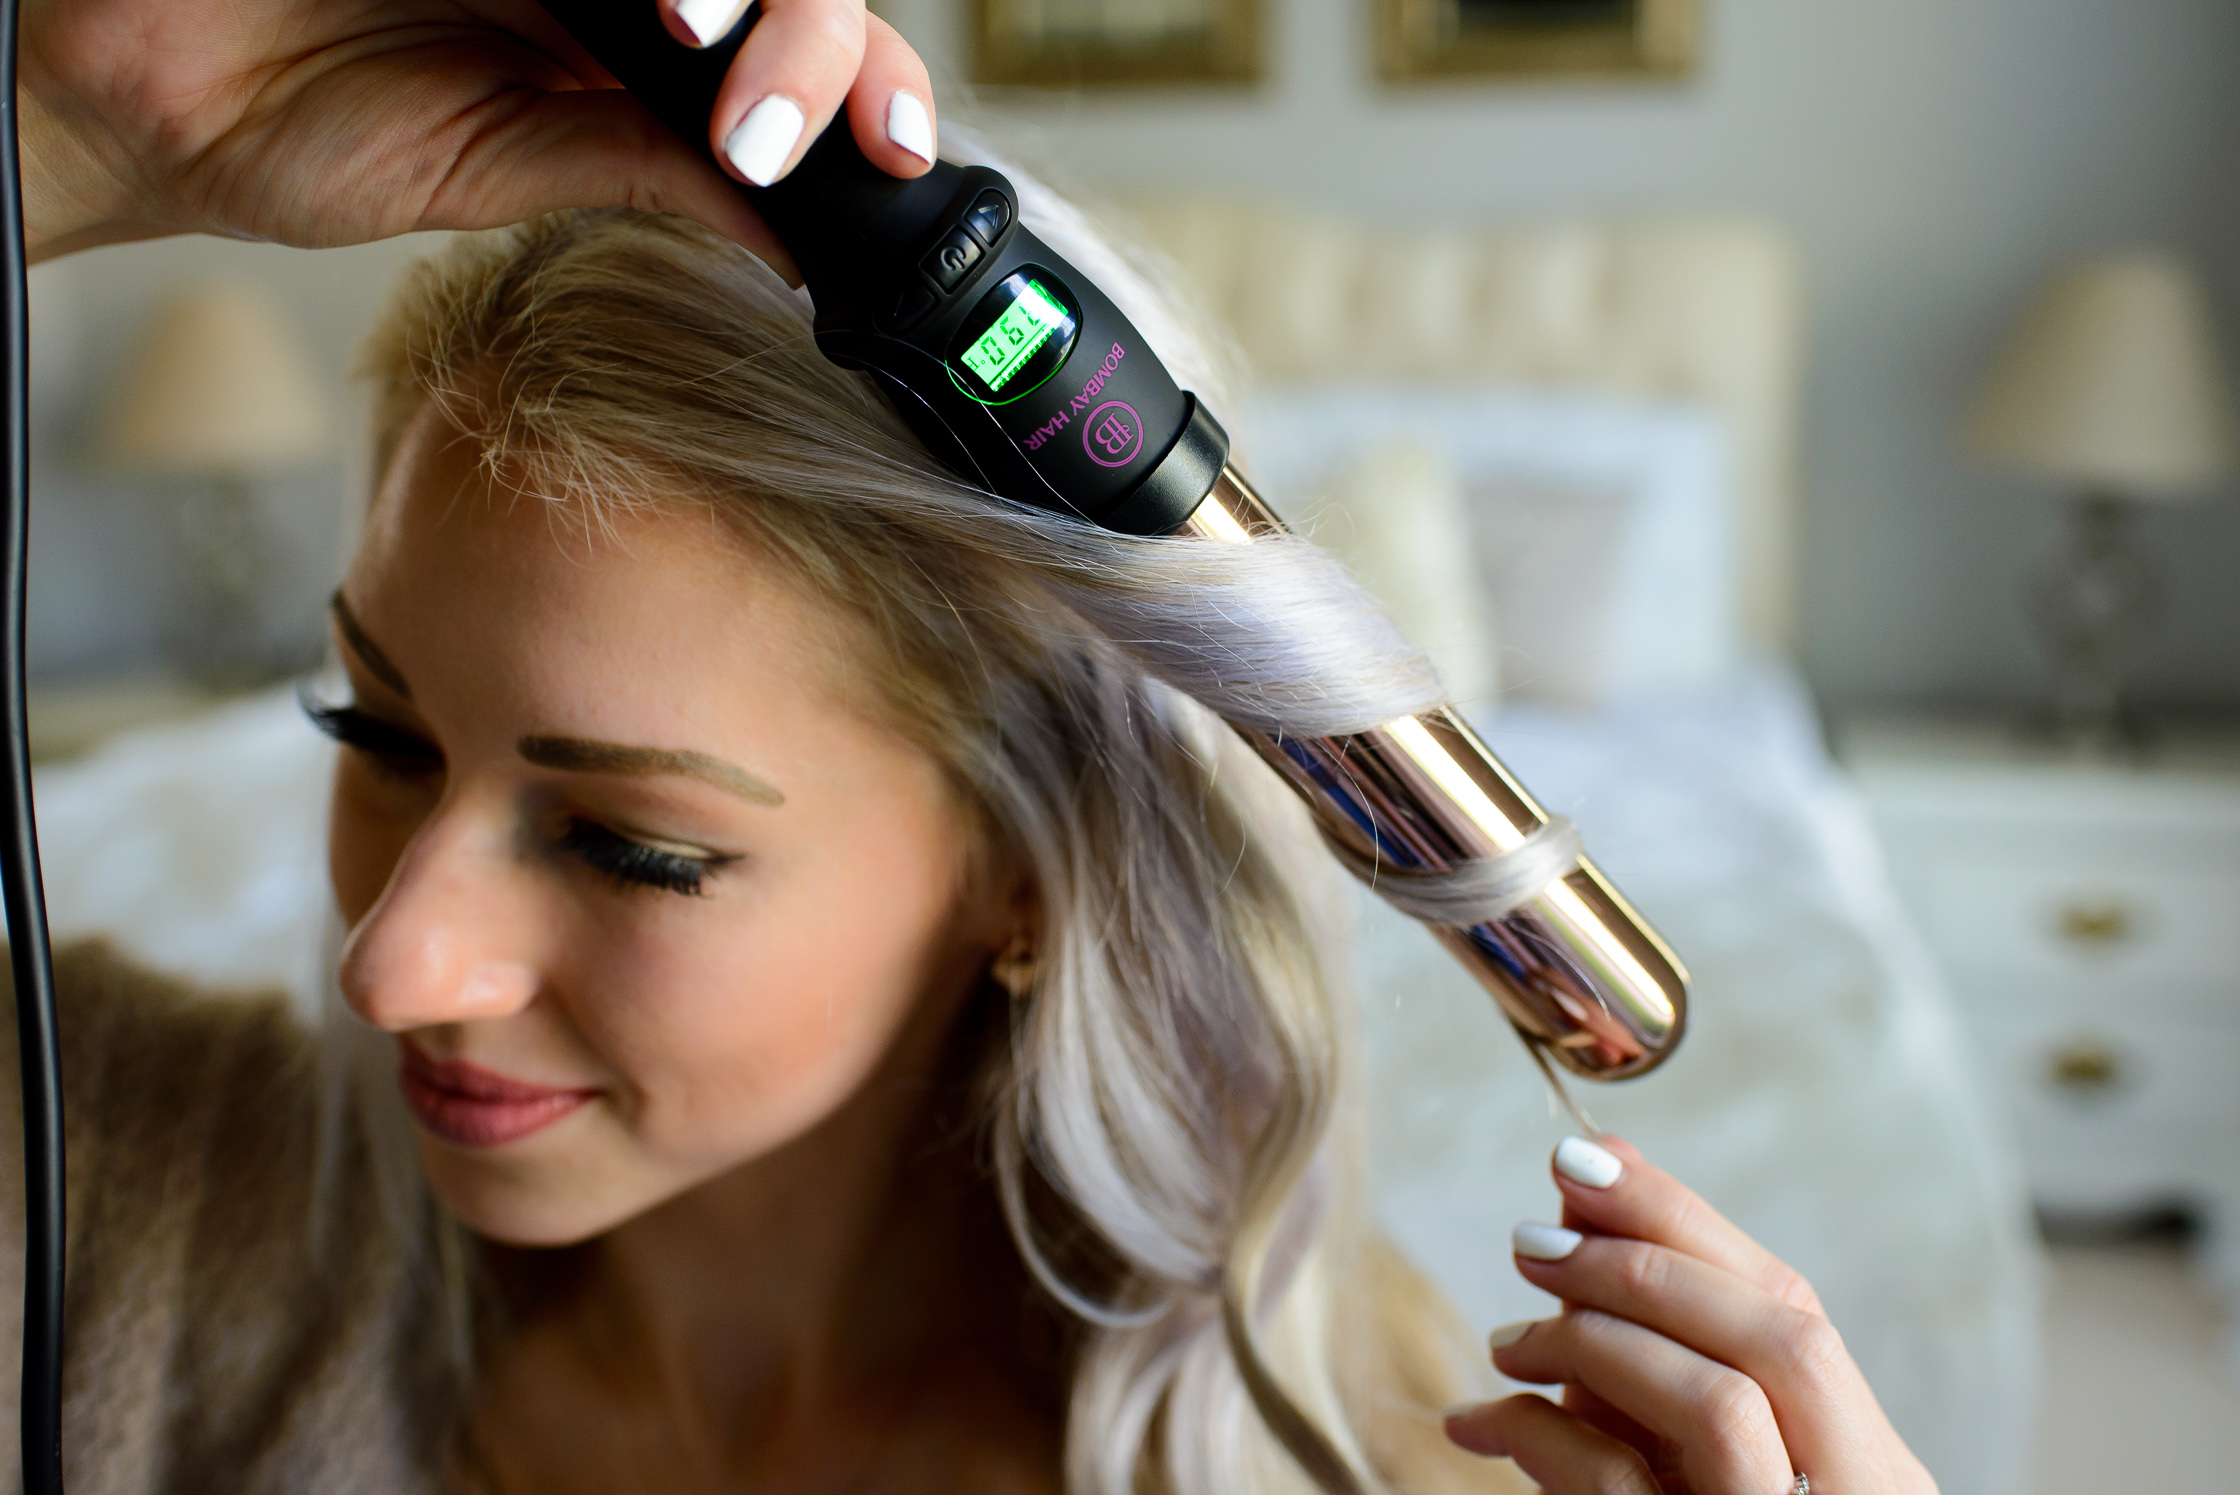
HEAT- There’s many heat settings and each type of hair will require more or less heat to maintain the curl. Obviously too high of heat will damage your hair if your hair doesn’t require the setting to be too high. The wand heats up VERY fast! The wand has a display that reads the temperature so there’s no risk of burning your finger to test the temperature.
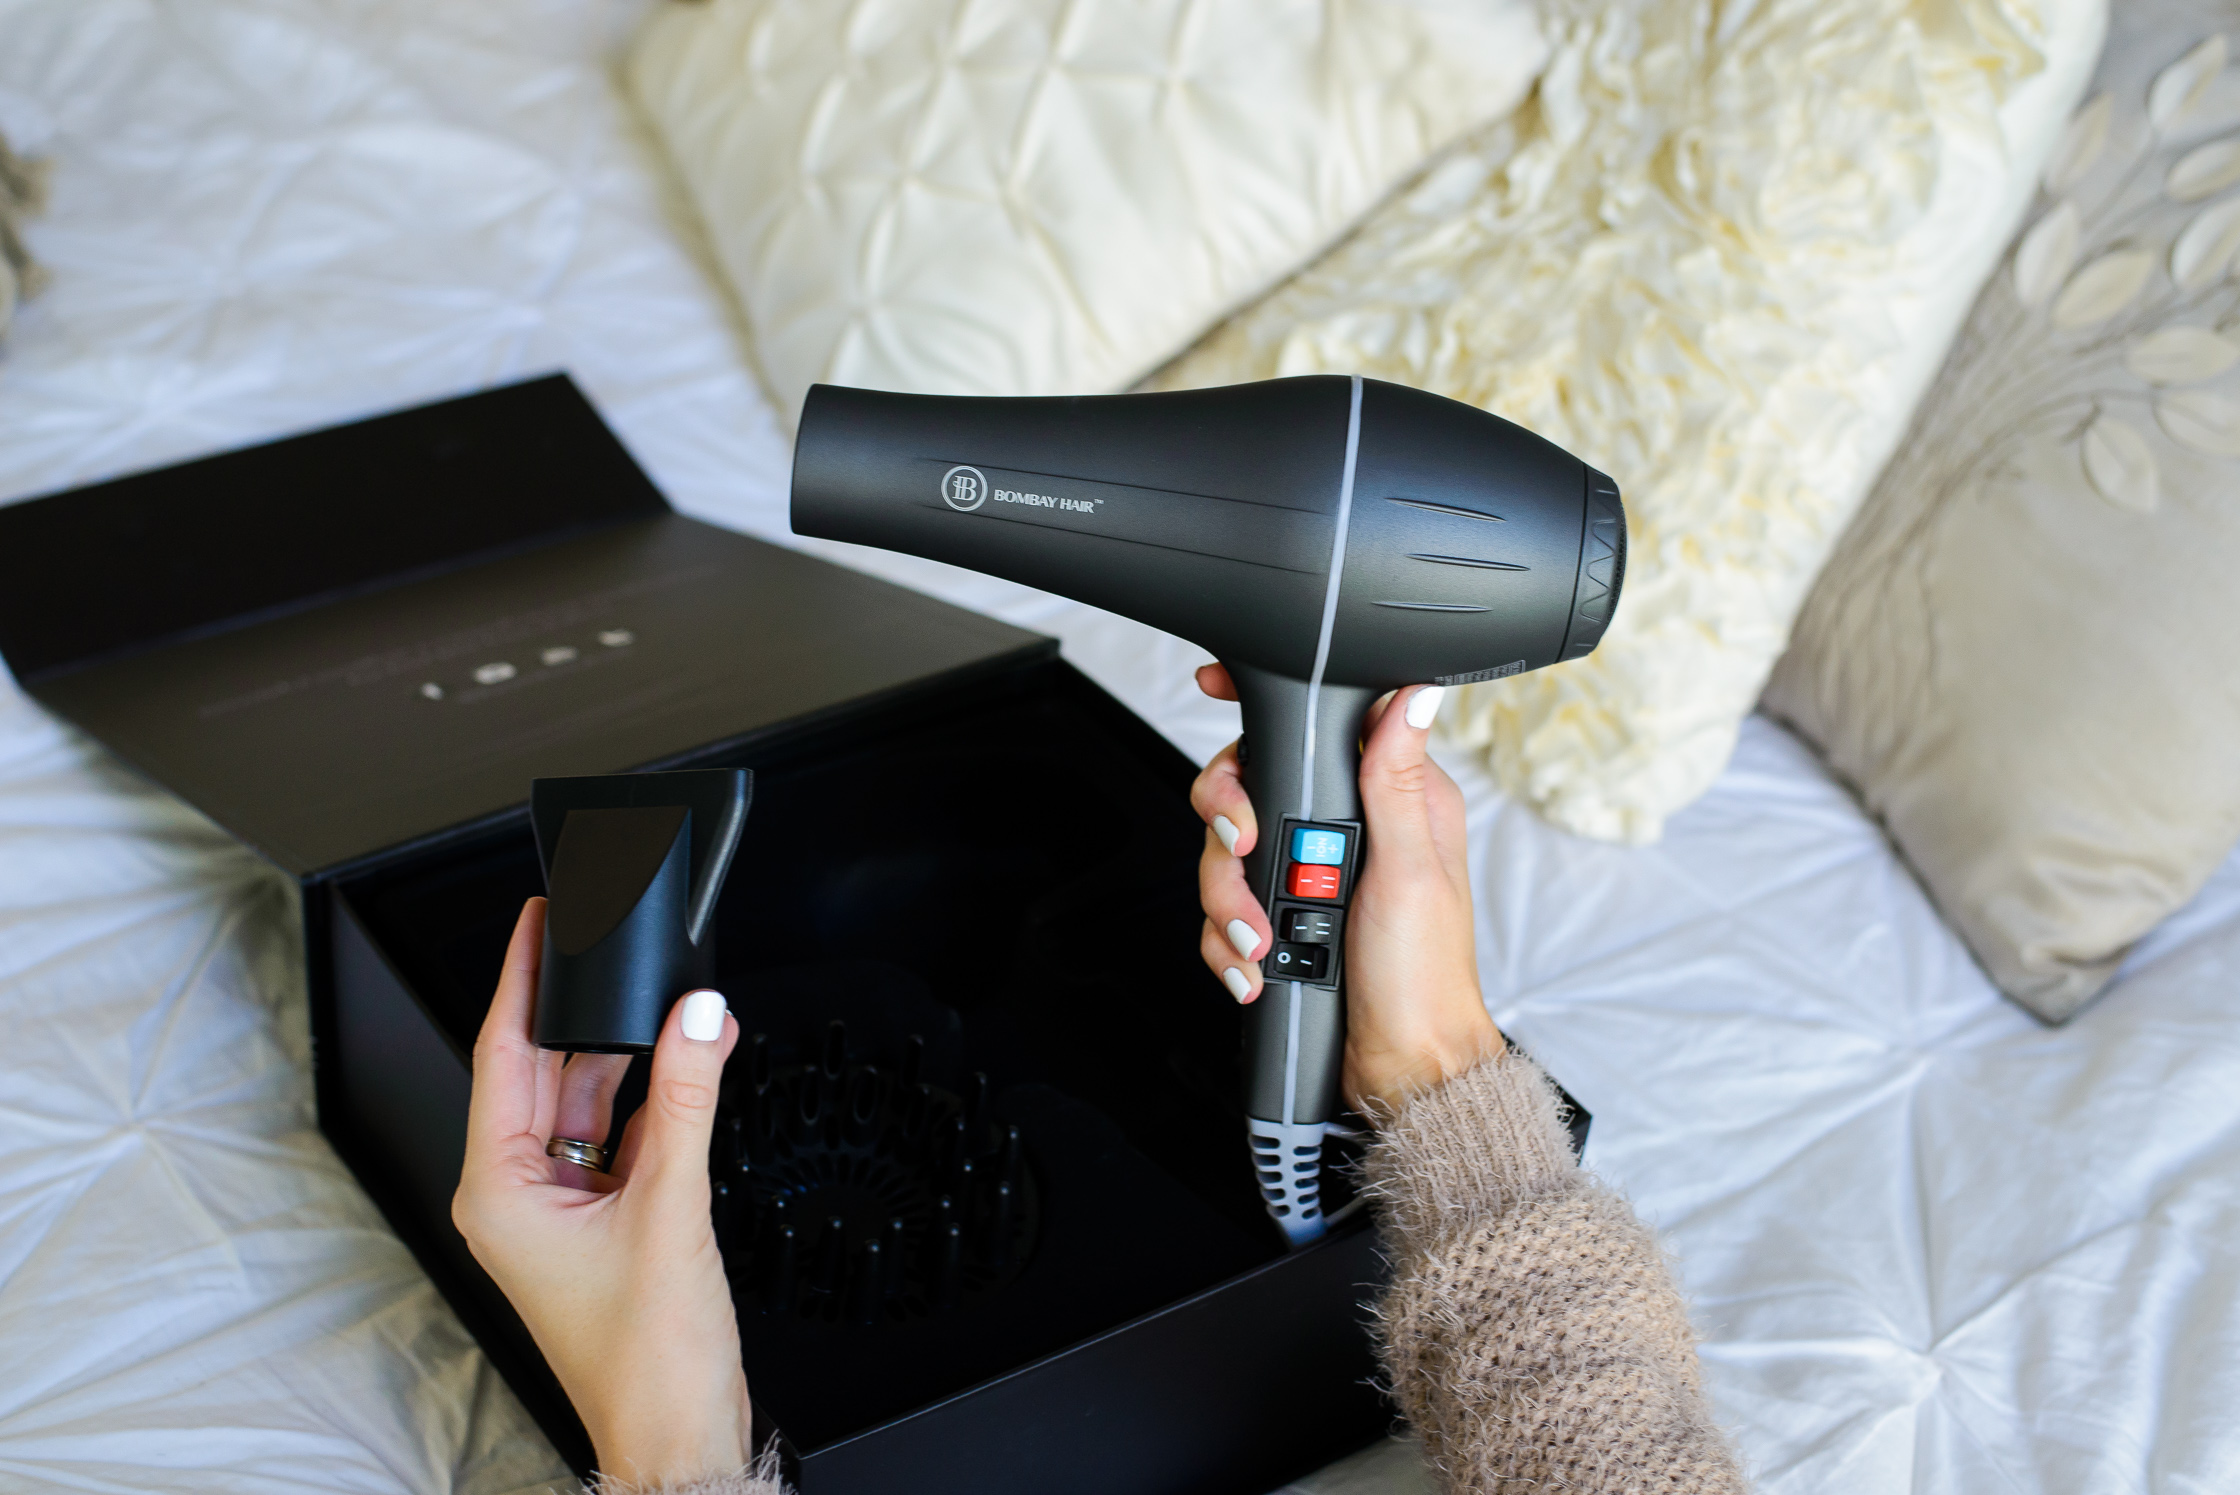
BLOW DRY- I always spray a heat protectant on my hair before blow drying. I tried out Bombay’s Professional dryer and I tested it against my previous dryer. Woah, you guys. This dryer has a lot more power but the heat is the same. My hair dried faster without the extra heat damage. It’s a bit pricey but worth every penny in my opinion. I flipped my head over and used this attachment shown in the picture below to lift my roots.
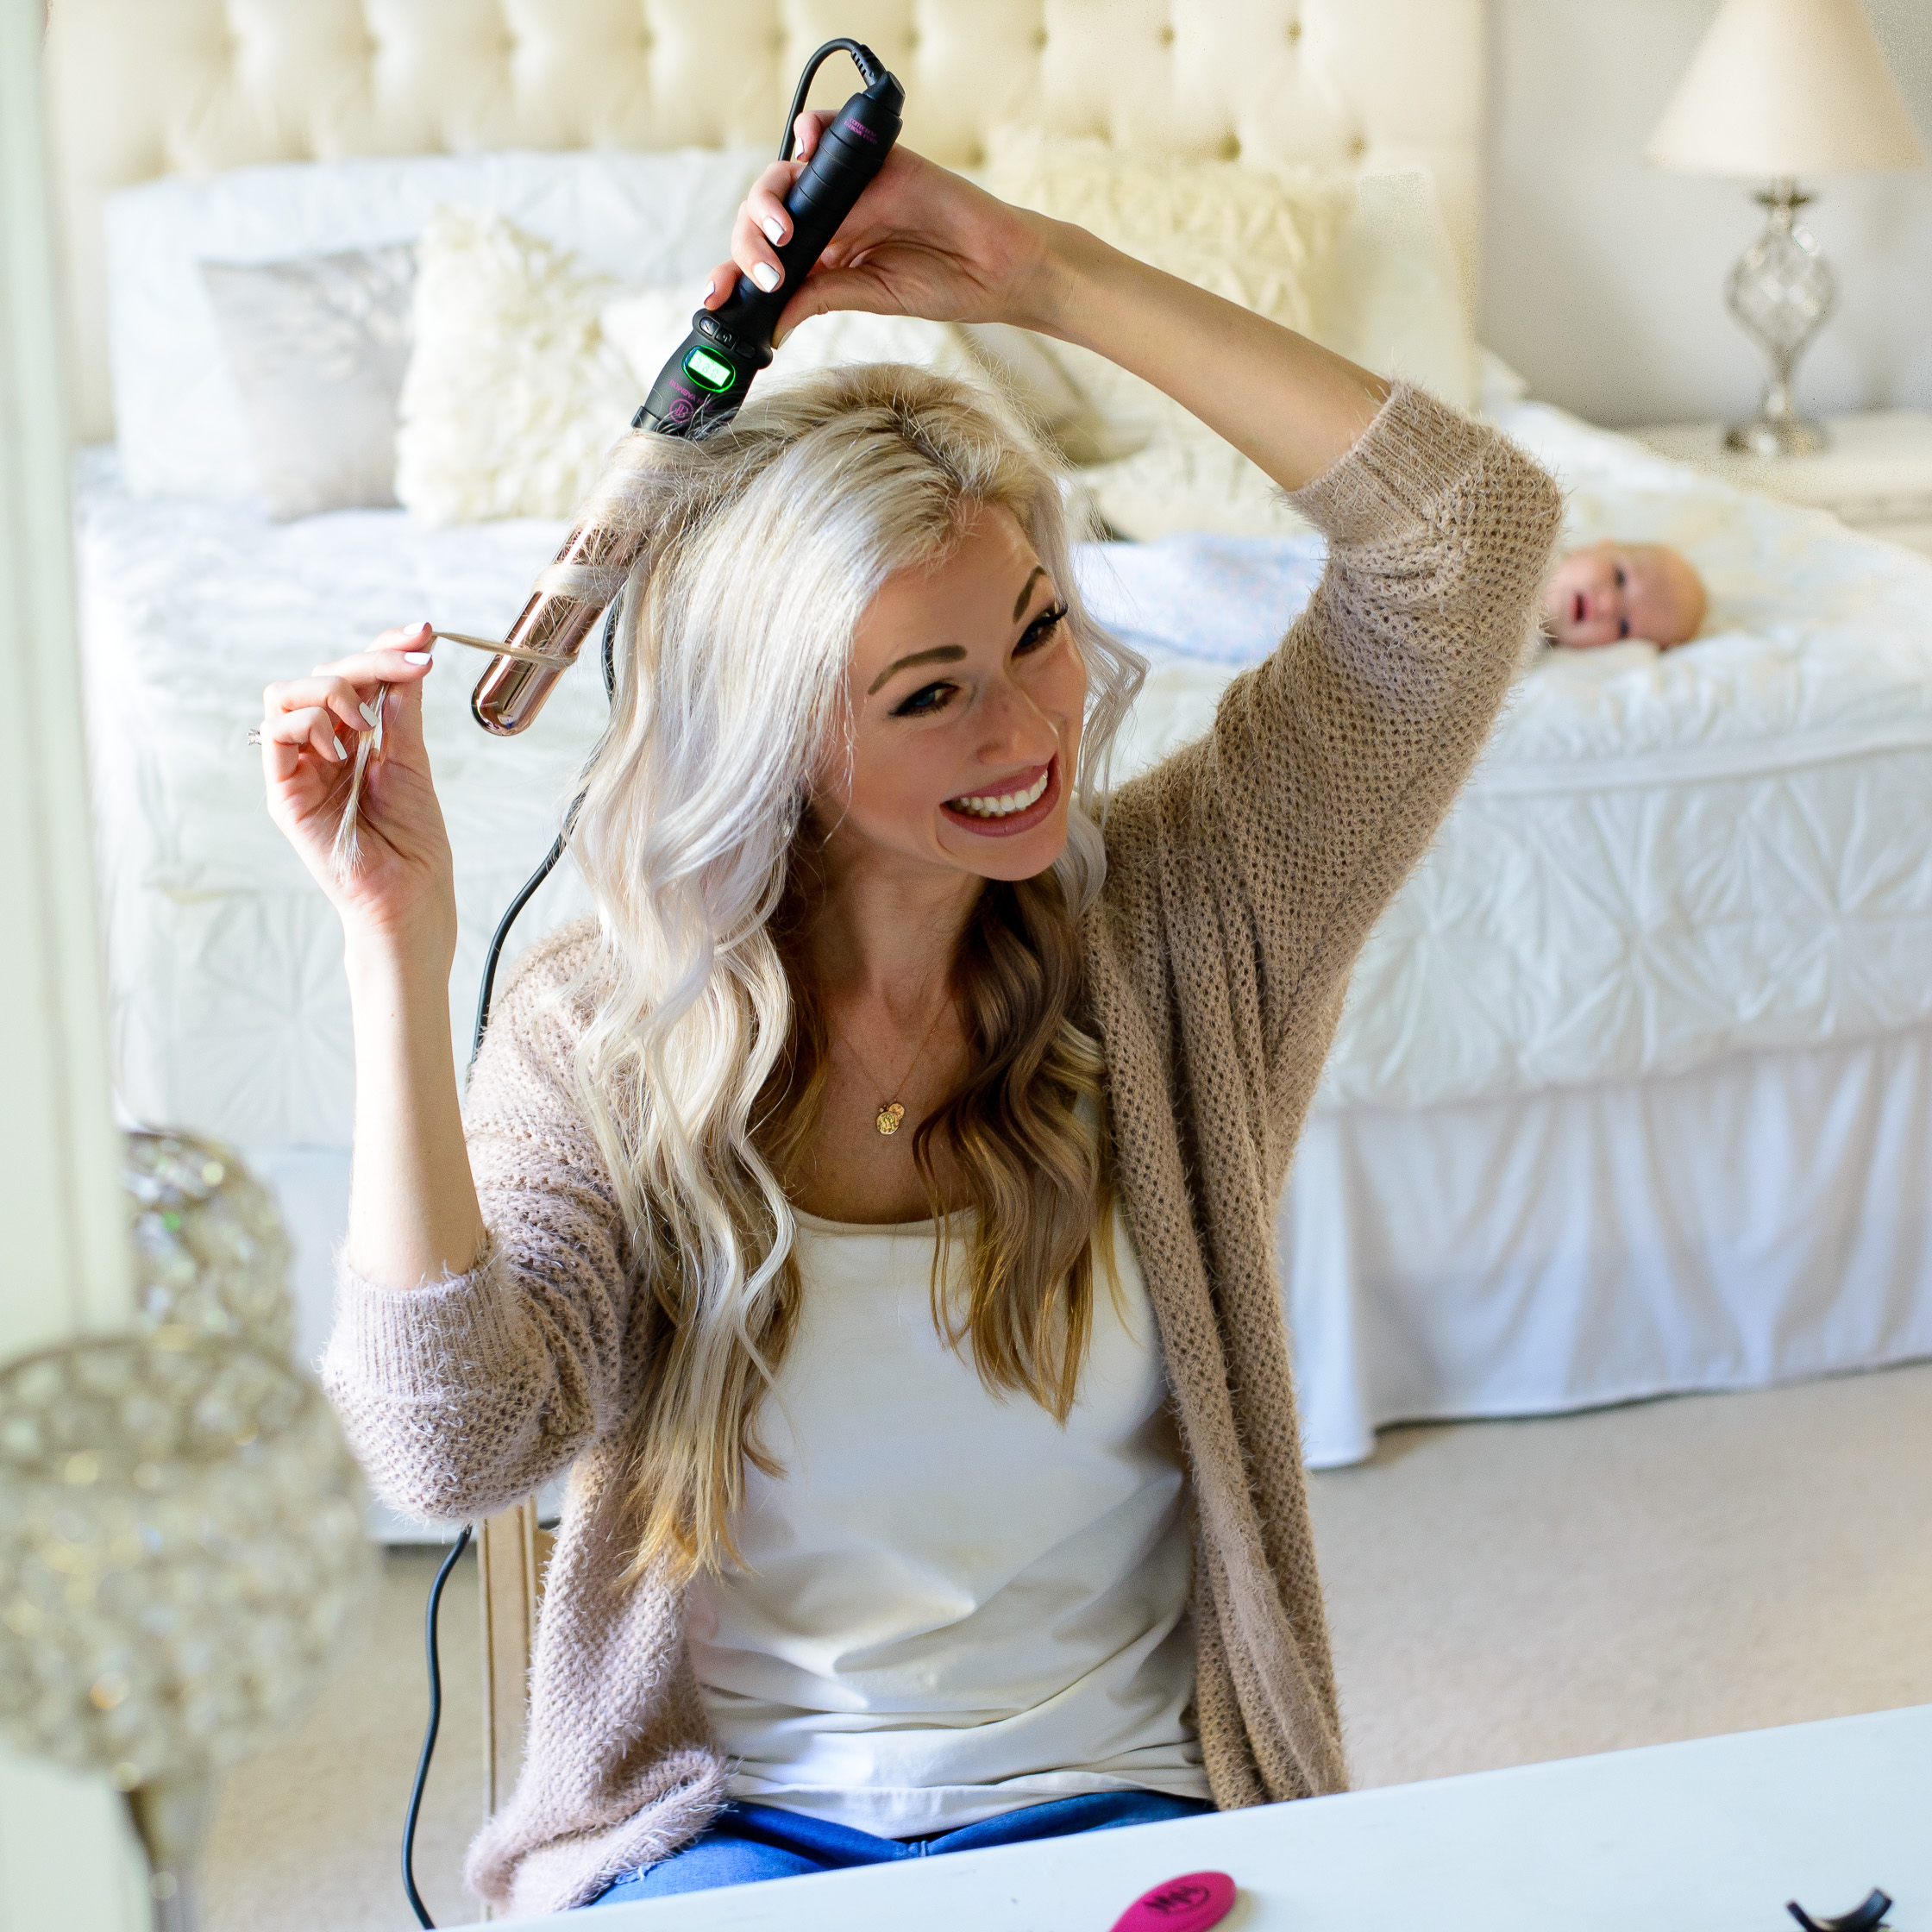
 After sectioning off my hair, I turned the wand upside down so that it was facing downward. Then I started from the front and wrapped large sections of my hair around the iron. There’s 2 directions to wrap the hair and I always wrap the hair piece away from my face. I’ve tried both and I like the way this look frames my face. (Once those face-framing hairs grow back in.. 😉 ) I leave the hair wrapped around the wand for about 5 seconds before releasing.
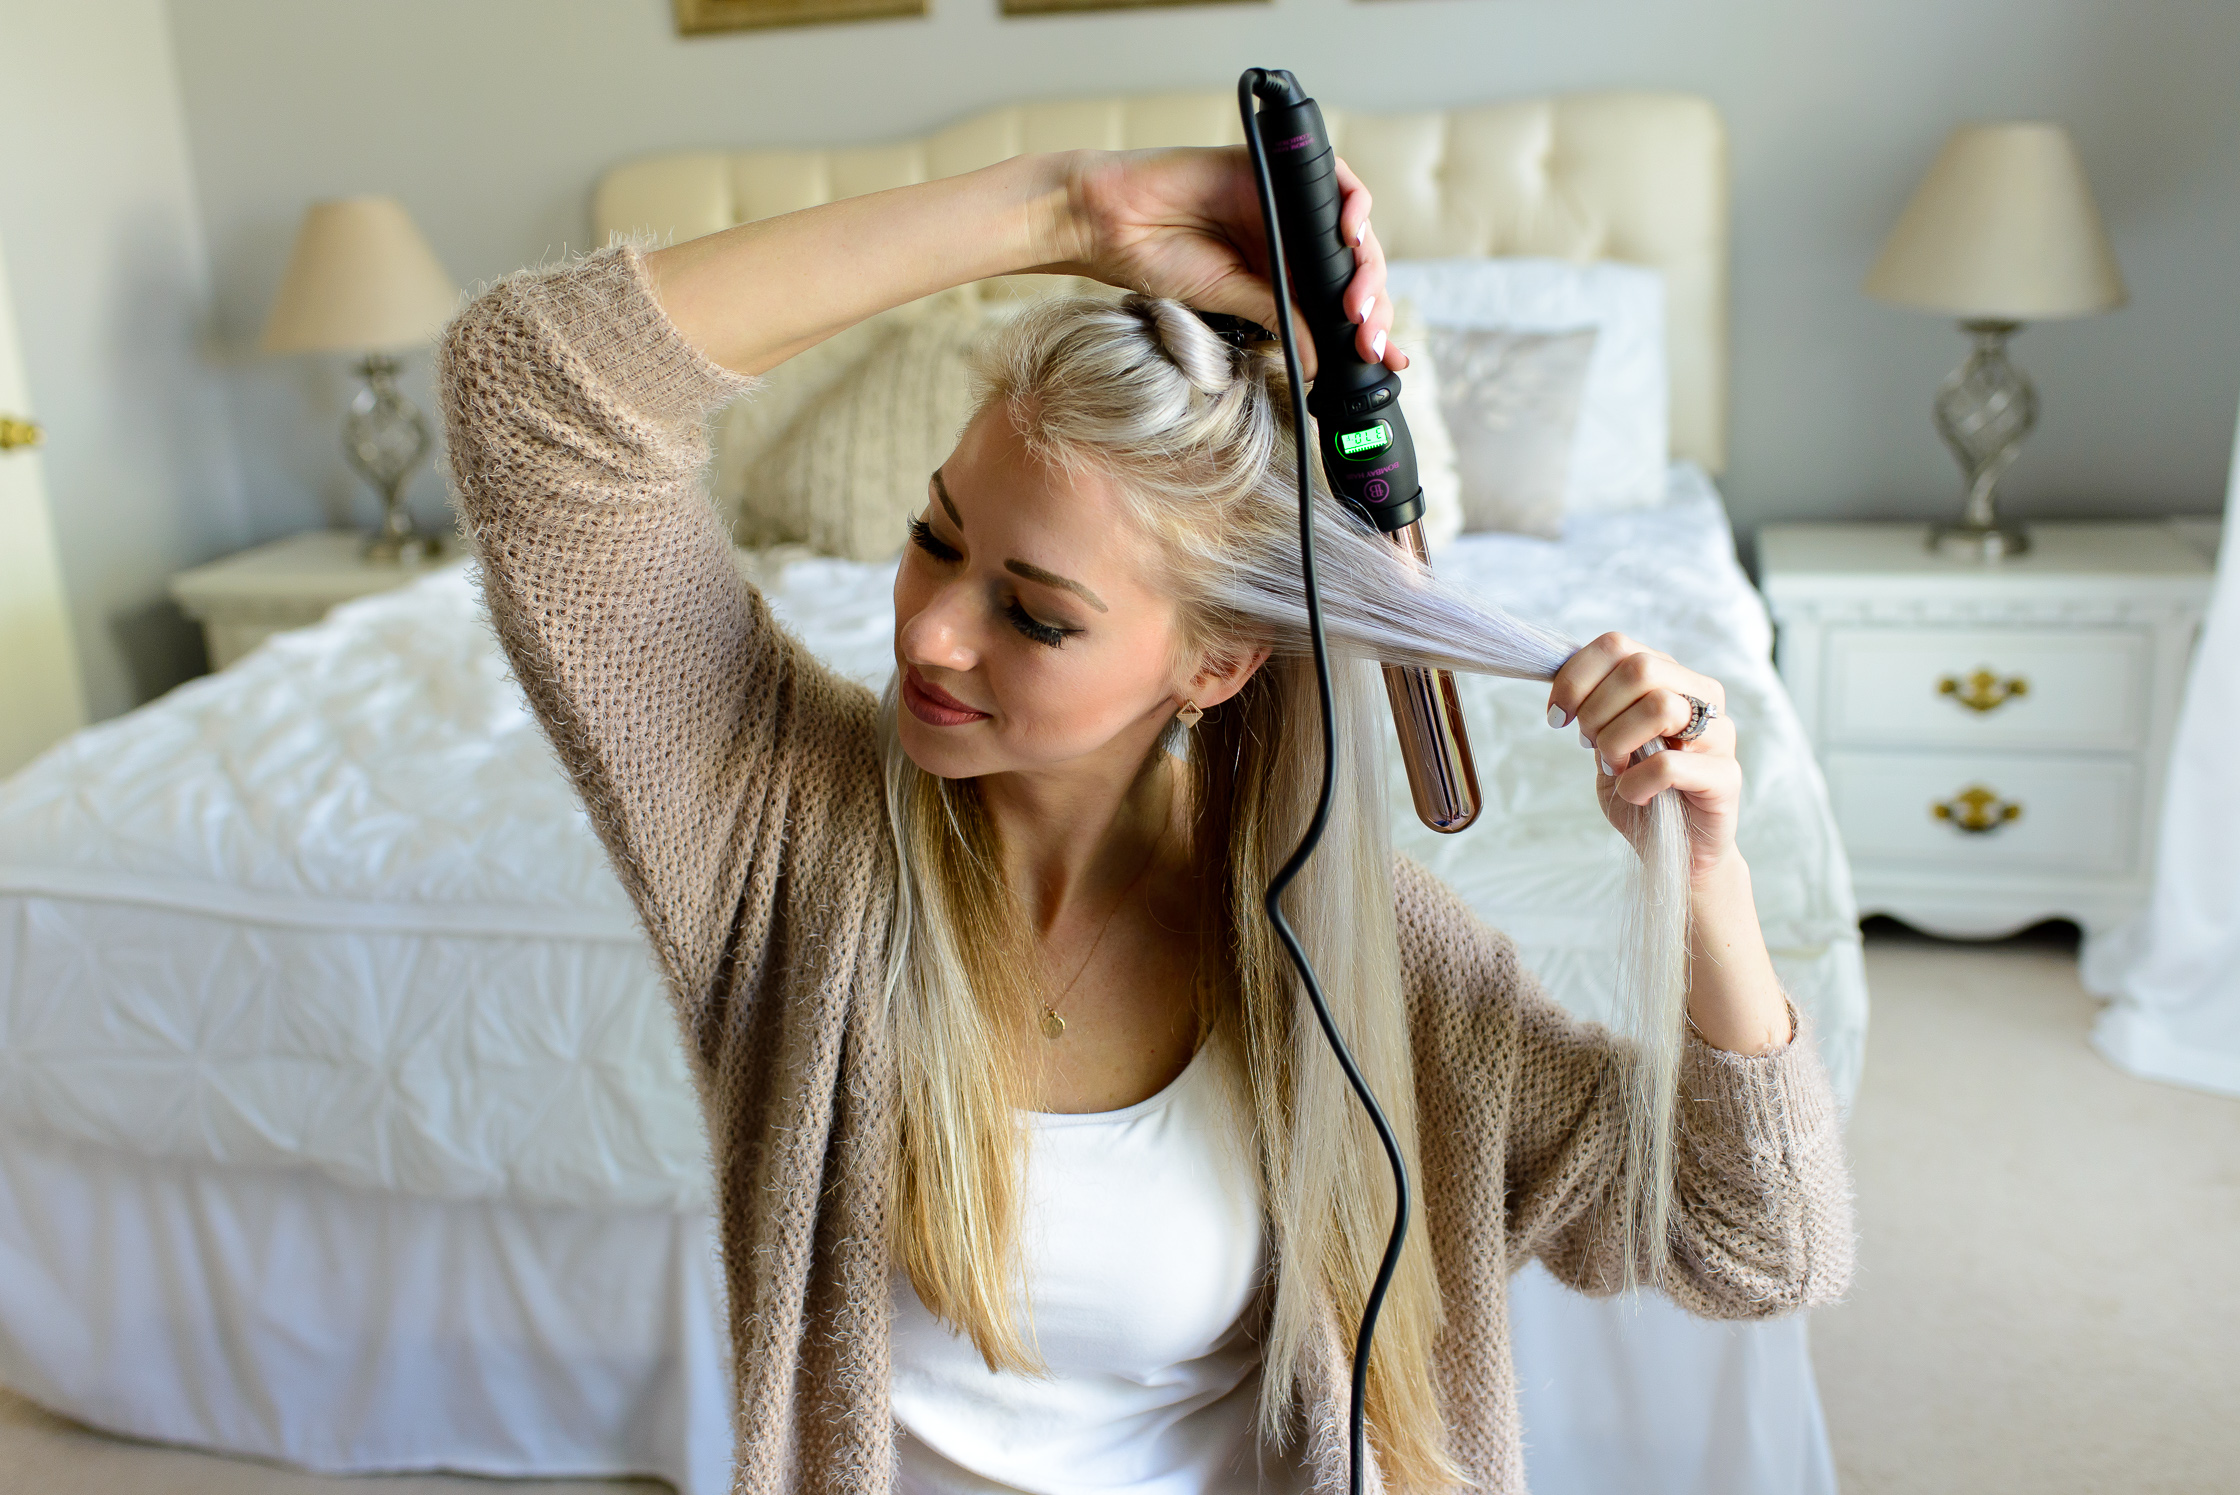

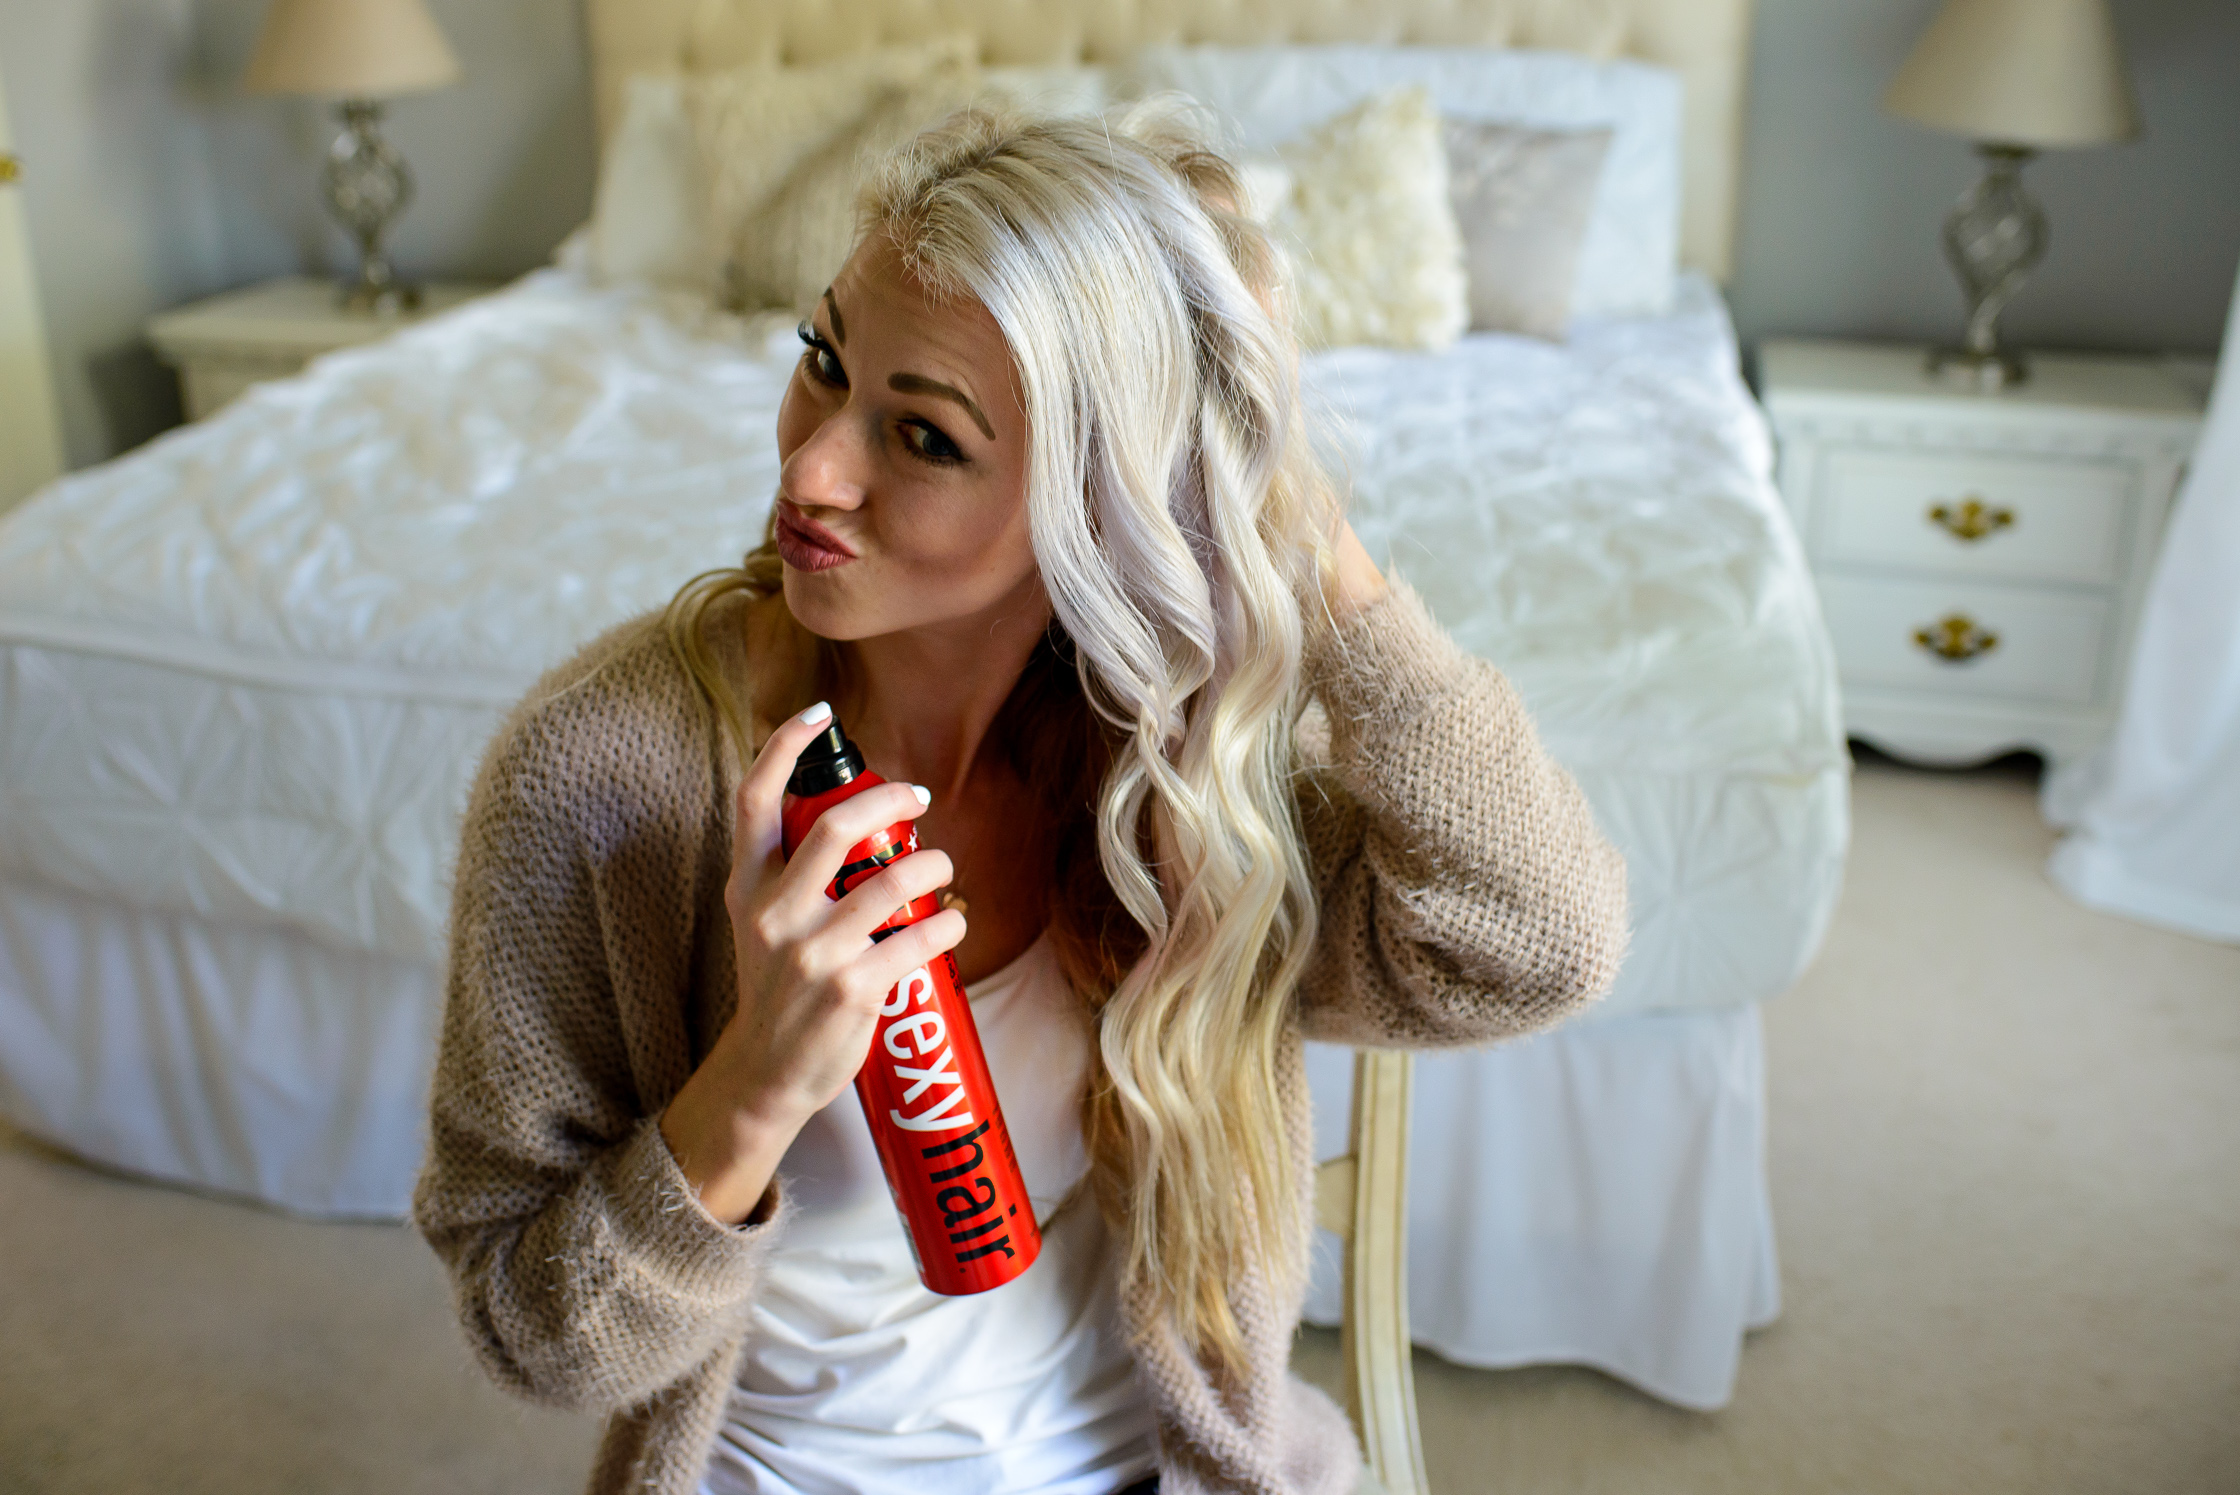
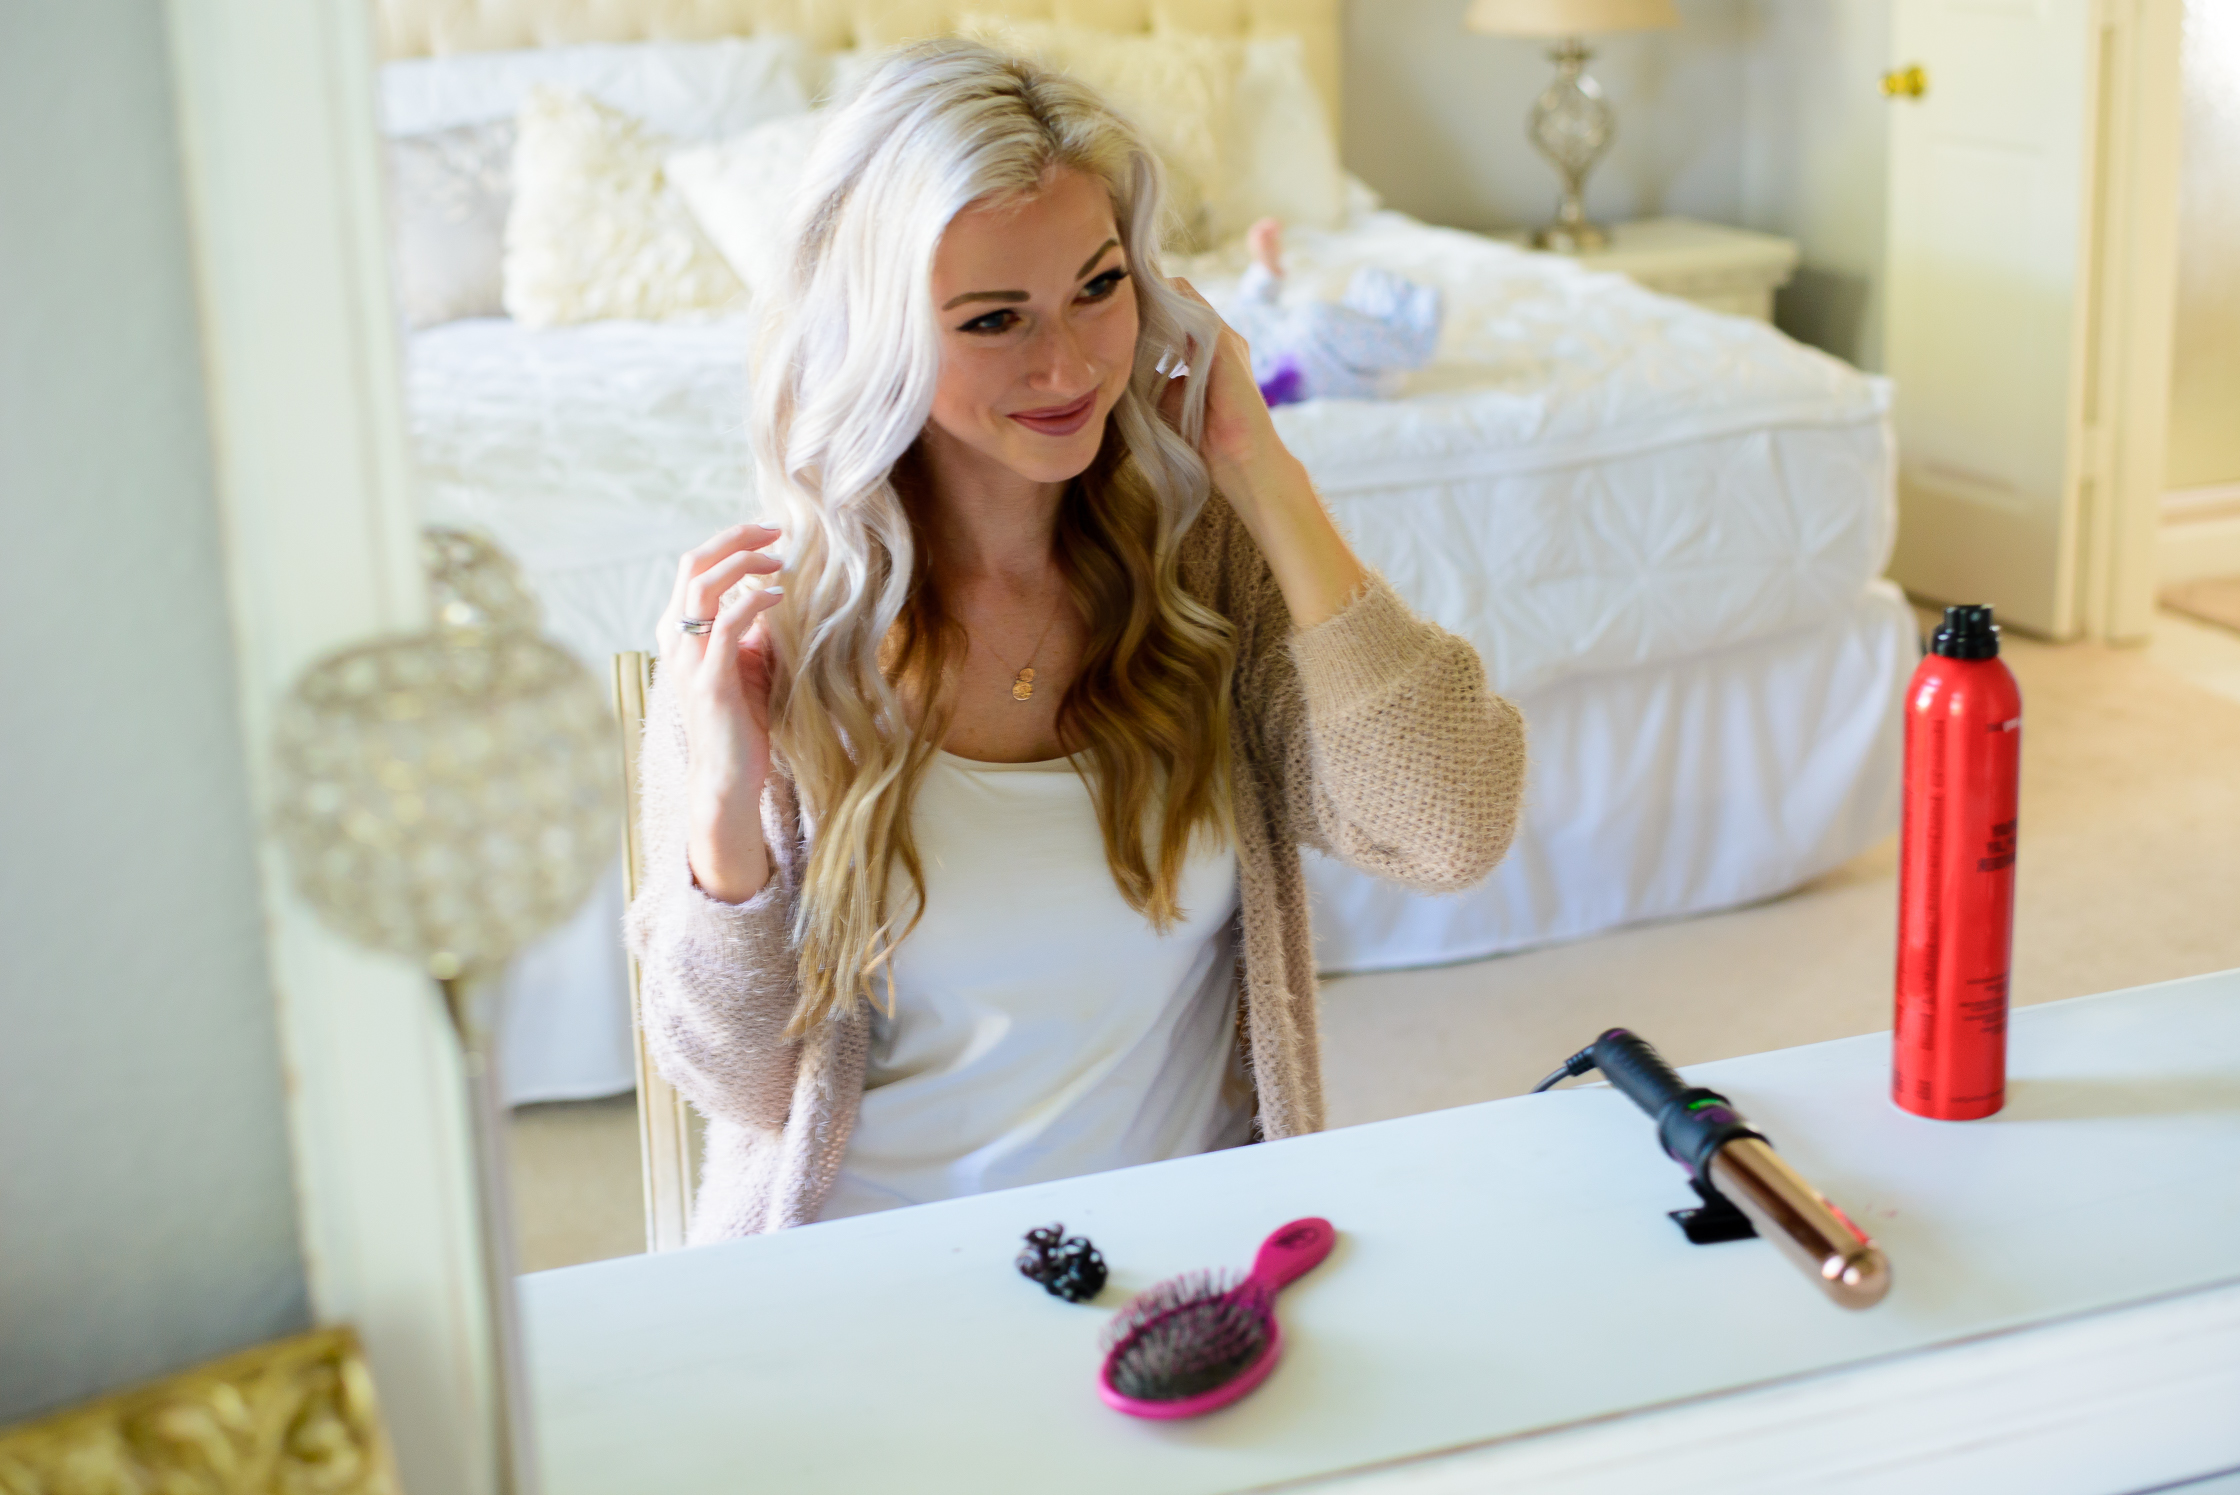
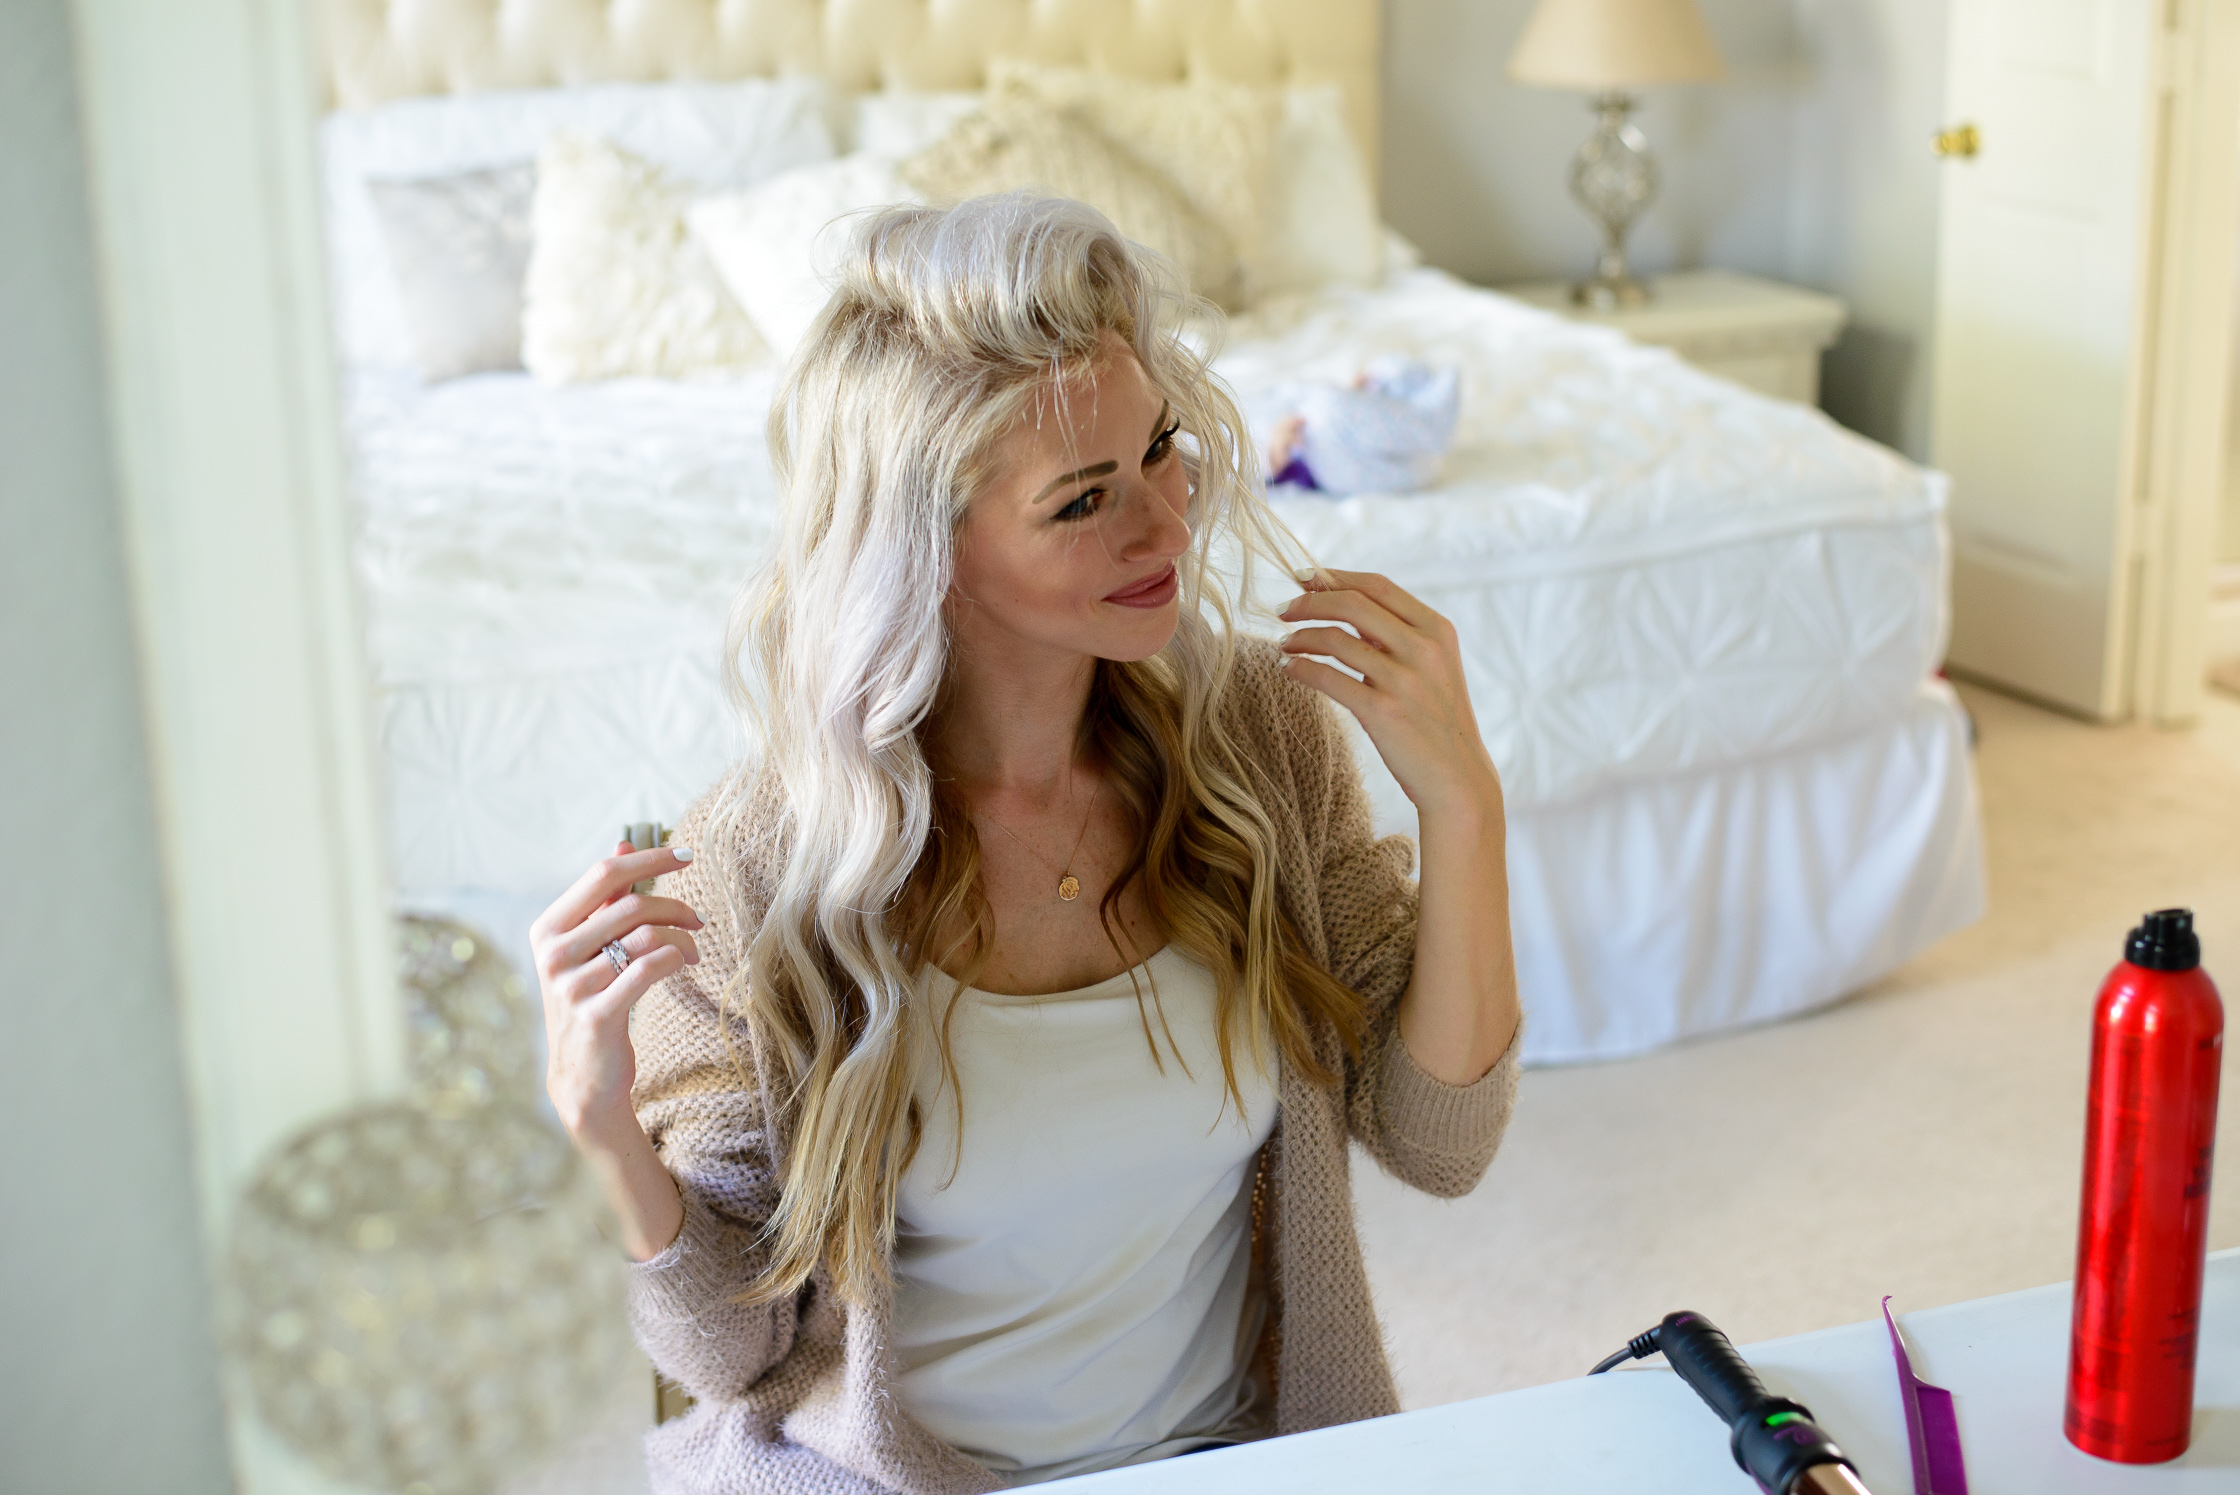
Run fingers to loosen up the curls to look a bit more natural. Finish the look and take a flexible/firm-hold hair spray and mist all over the curls. Voila!
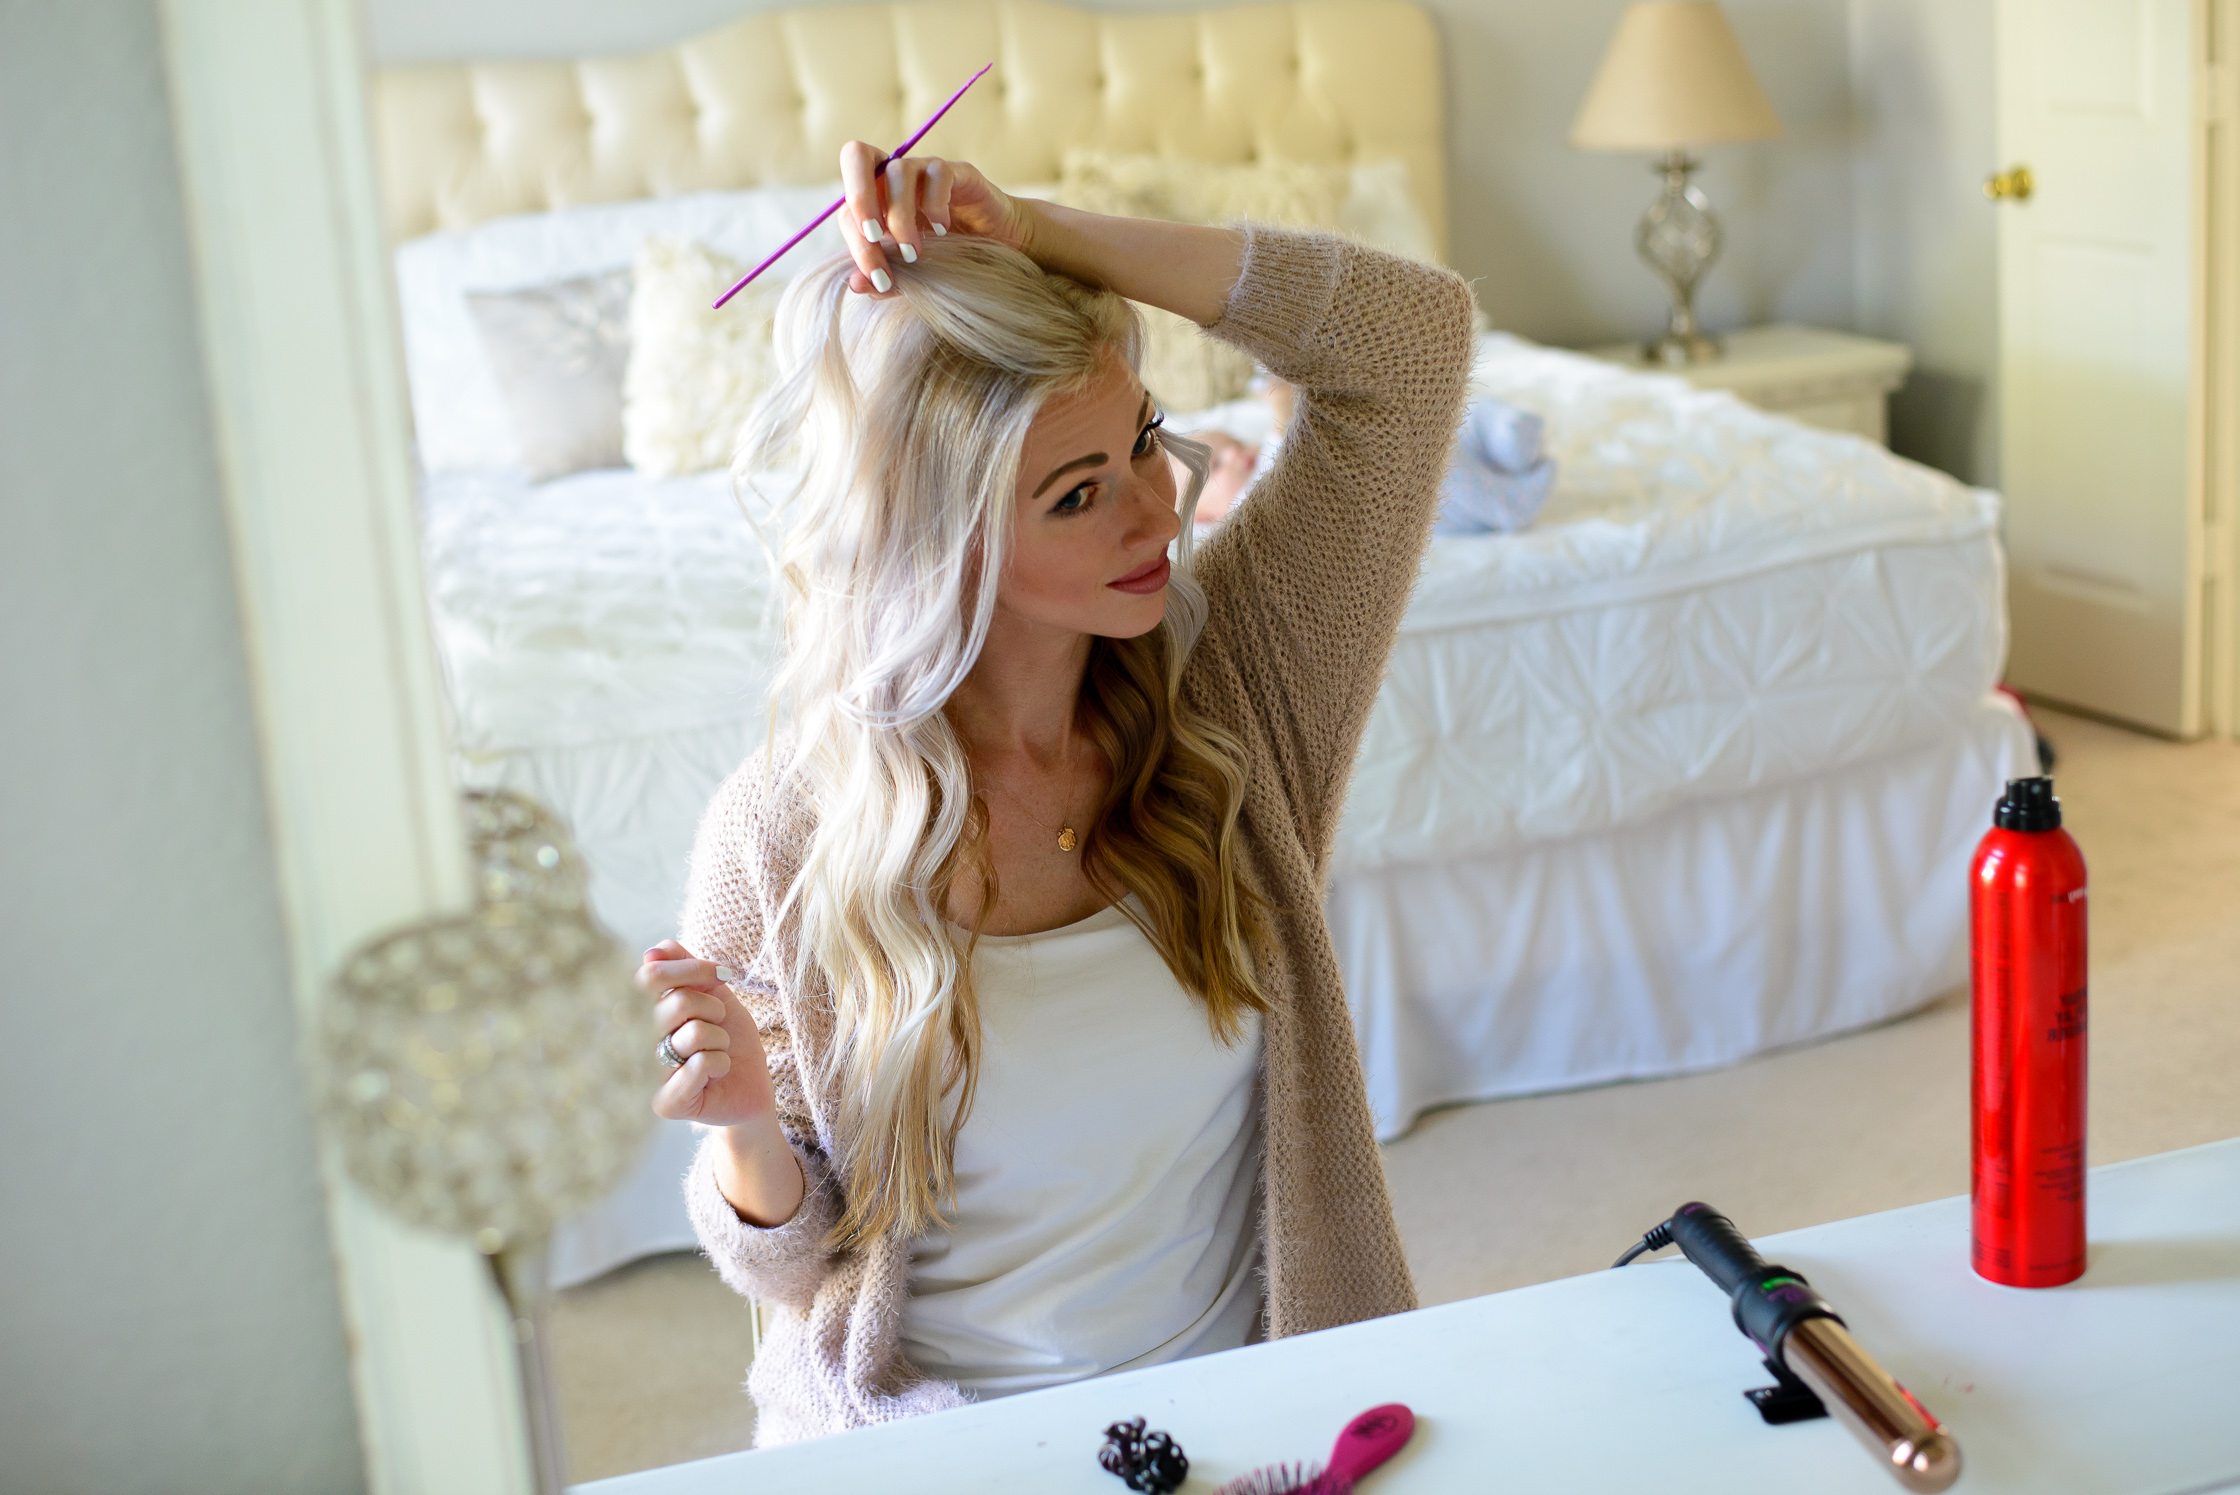
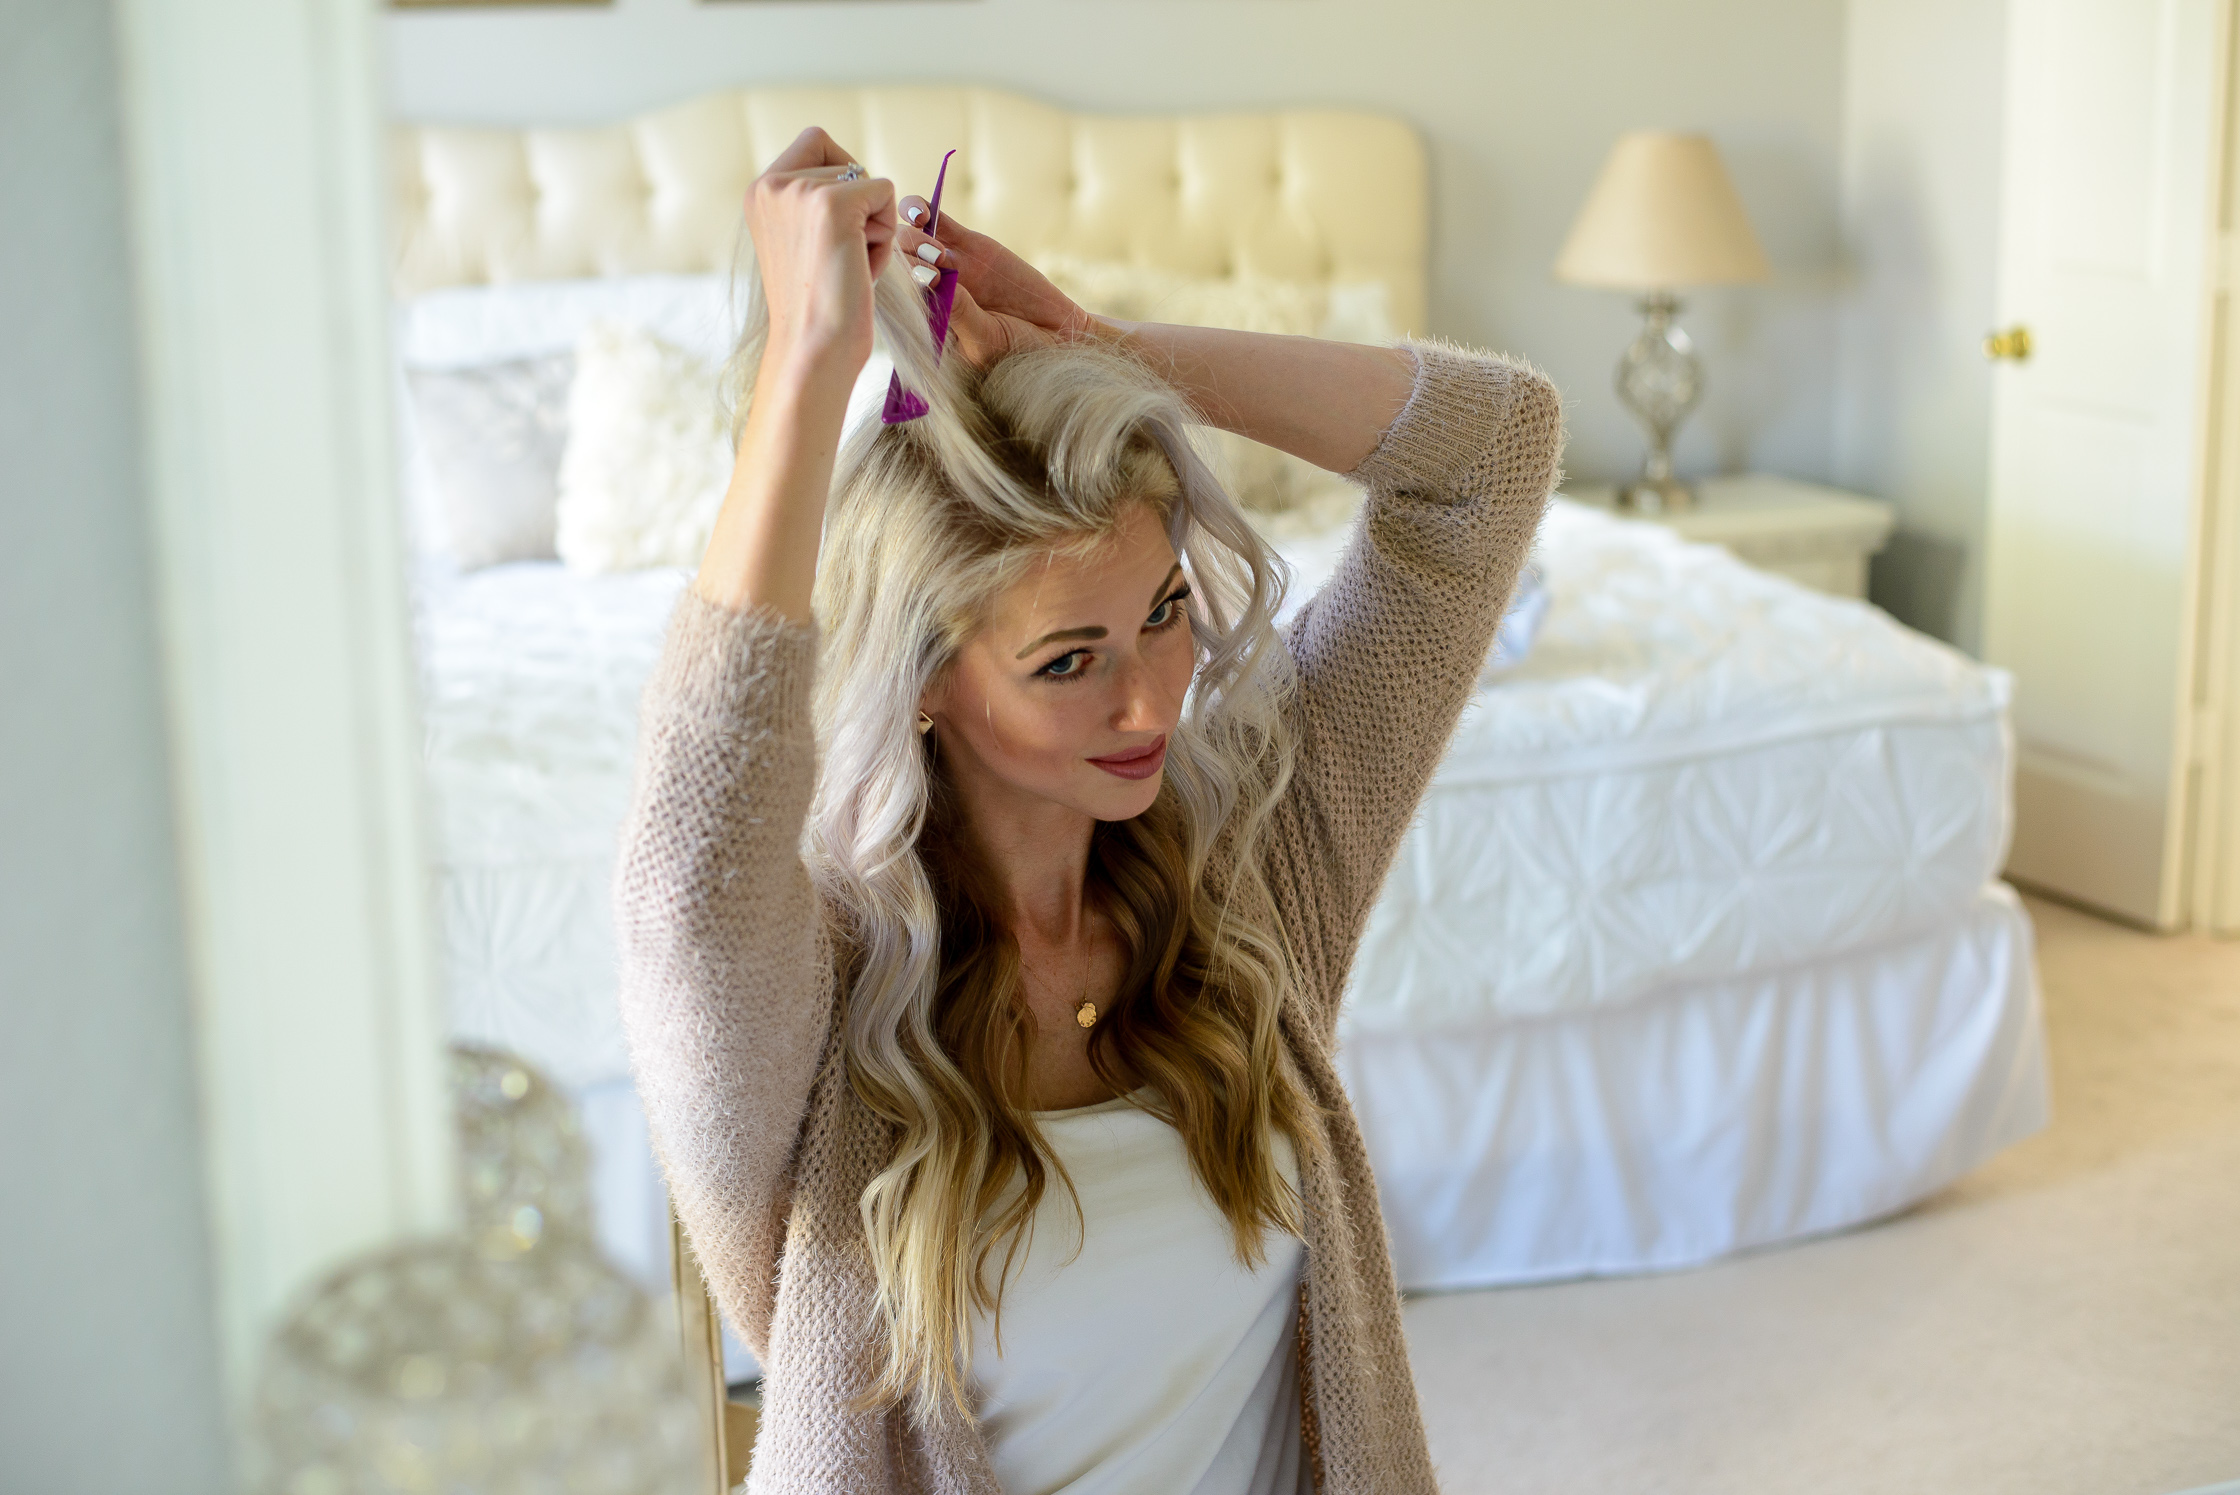
My sweet baby Avery woke from her nap before I finished. She’s playing on my bed and I’ll often giggle and chat up a storm with her to keep her happily entertained until I’m done. It takes me about 15 minutes tops to curl my hair. Especially since I’ve lost so much volume from the hair-loss, I like to ‘tease’ a few sections of my hair. I using a teasing comb and pull down 2″ of hair towards my roots.
If you liked this tutorial then let me know! Are there any other type of tutorials or posts you’d love to see from me? Please share all of your ideas in the comments below!!! Enjoy your week, babes! xo
Thank you Bombay Hair for sponsoring this post!

What products and techniques do you use to color you hair!?
Definitely adding some of these items to my routine – thanks.
Beautiful curls and beautiful girl in your article
Author
Thank you!
Thank you for sharing this amazing tutorial! You make it look so easy! I am definitely going to give this a try as I always admire your beautiful locks in your photos. Hats off to the hubby too for doing such an incredible job on your beautiful color! Haha I wouldn’t be surprised if you guys don’t have a line of women at your door now asking him to color their hair too! Thank you for always being so REAL and humble in your sharing your life with your readers.
Good tutorial but the best I’ve used is my Karmin.
Author
Hi! Interesting, I’ve never heard of it. xo
Can you do a makeup tutorial?
Author
Definitely go to my instagram stories right now to see!