


One year, I pulled together my birthday cash from my parents and invested in learning how to do gel nails. So here was my alternative to the salon, featuring my BEST TIPS since I LOVE a shiny and hard polish that lasts for weeks. Hope you love it too!
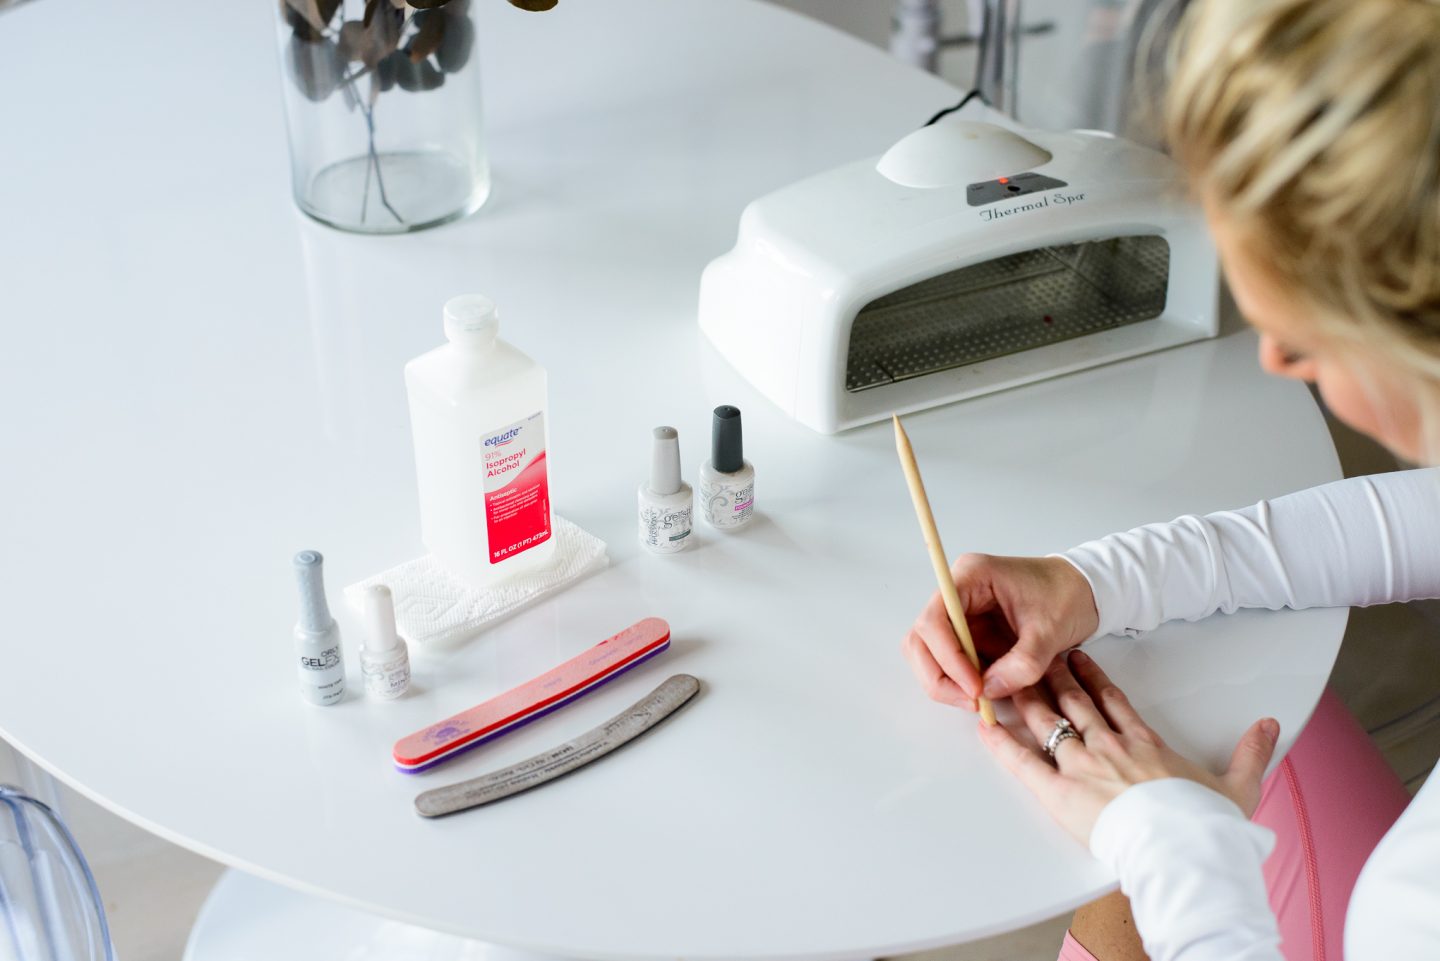
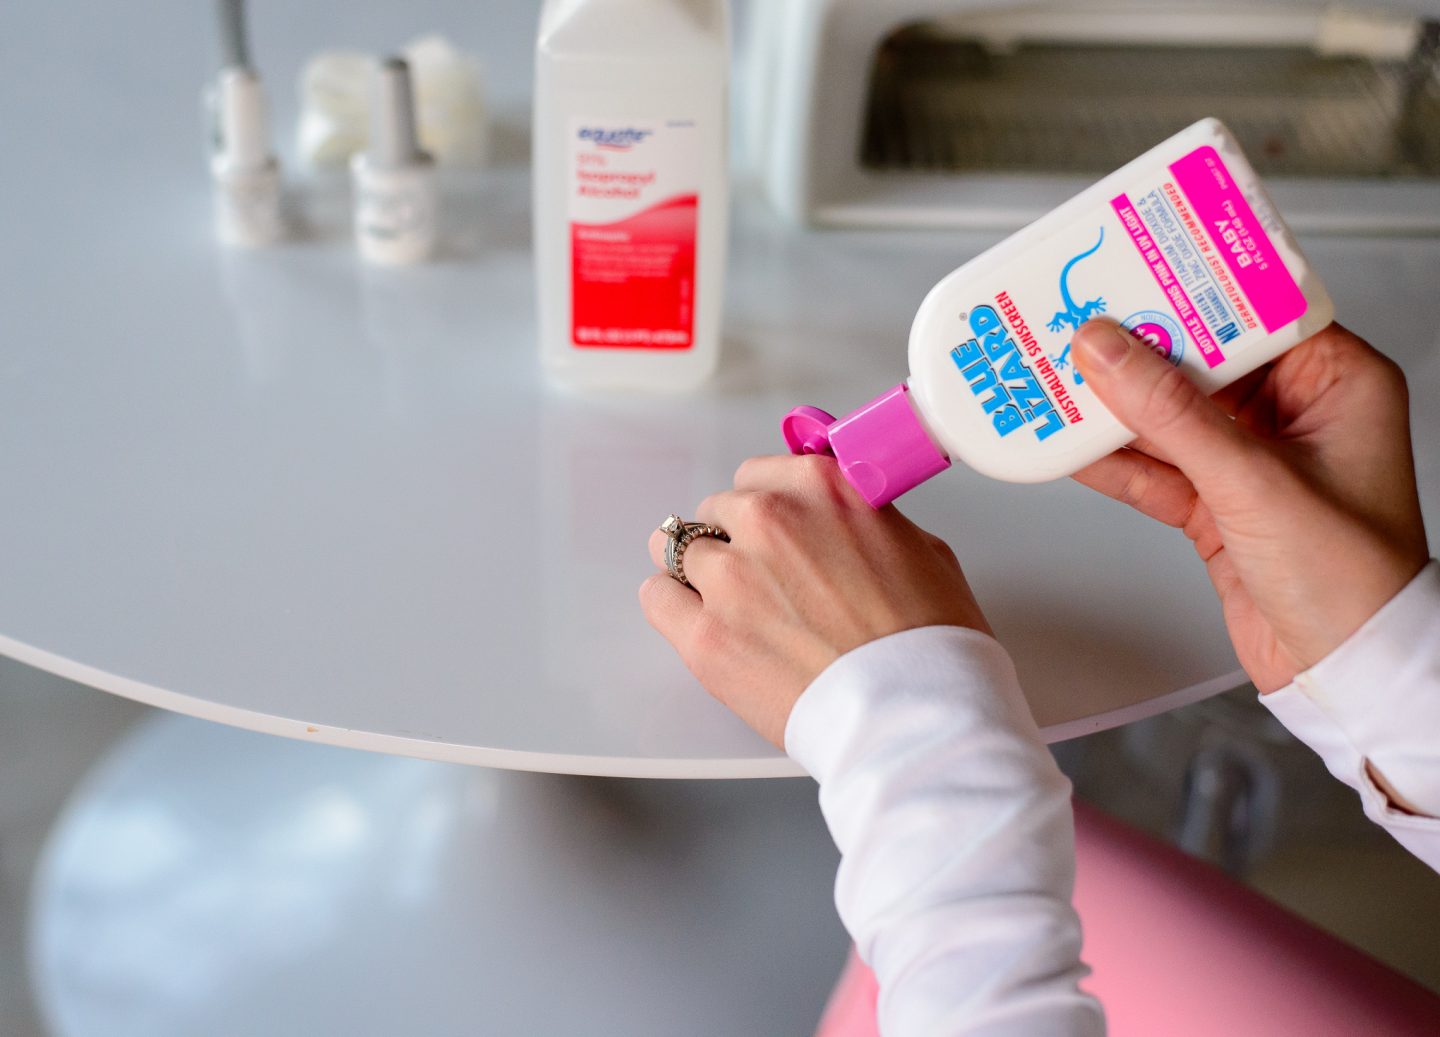
First, use SPF on your hands if you purchase a UV lamp. Years ago when I bought a lamp, LED lamps were just coming out and I decided to play it safe with the traditional UV lamp. My light has long been discontinued!
I recommend buying an LED lamp for 2 reasons: 1. LED is safer on your skin 2. LED lamps will dry the polish in nearly 1/4 the time! This will save you a significant amount of time. Trust me! Also, snag THIS KIT for the polishes + acetone + alcohol. You’ll need it all!
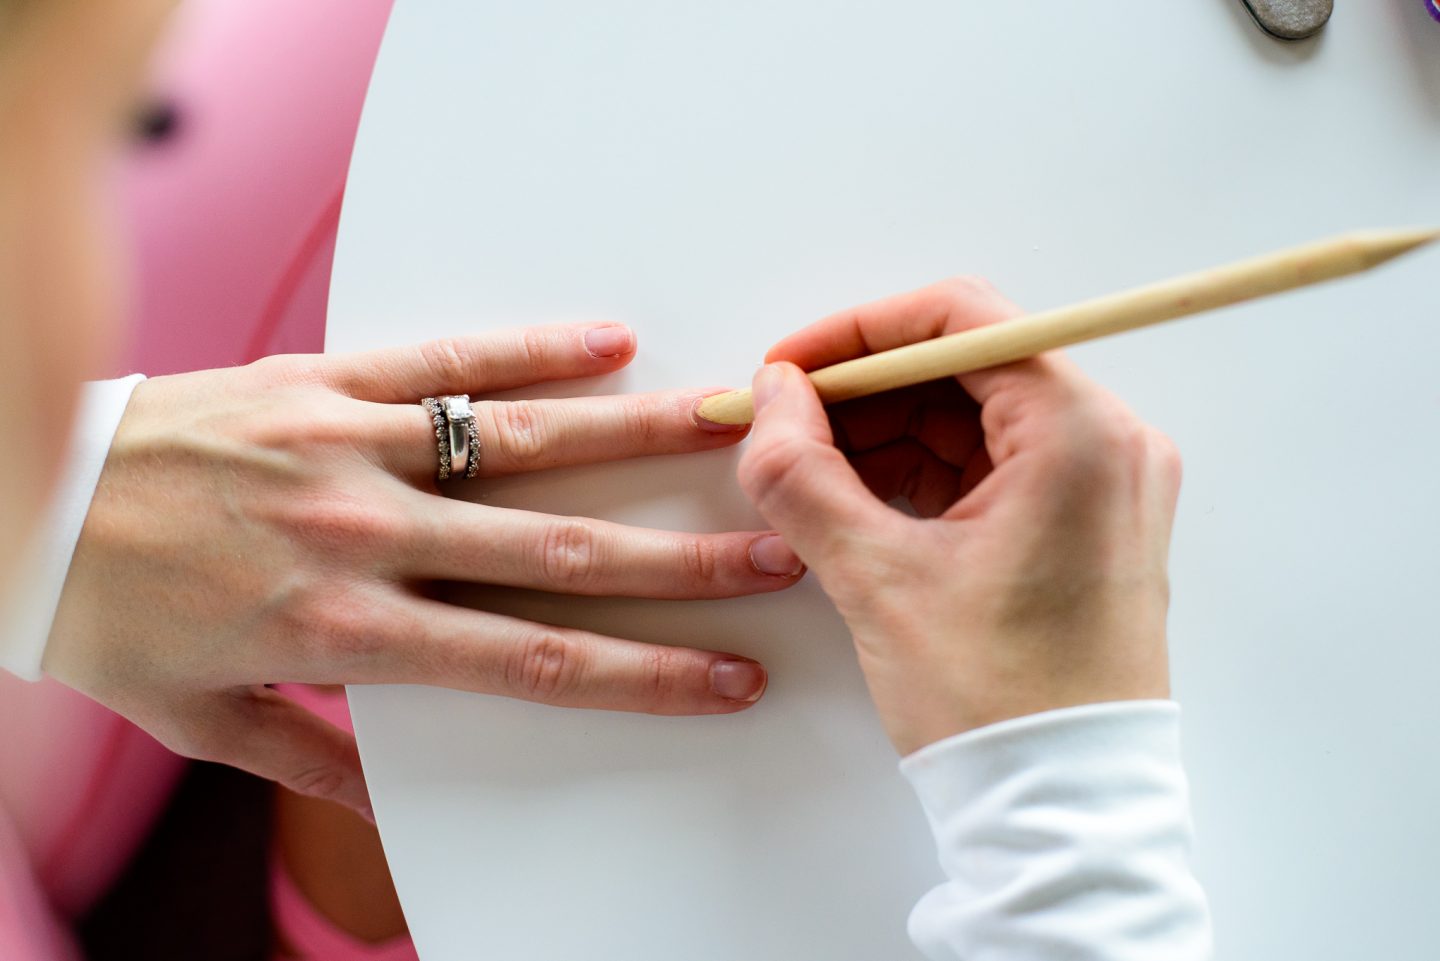
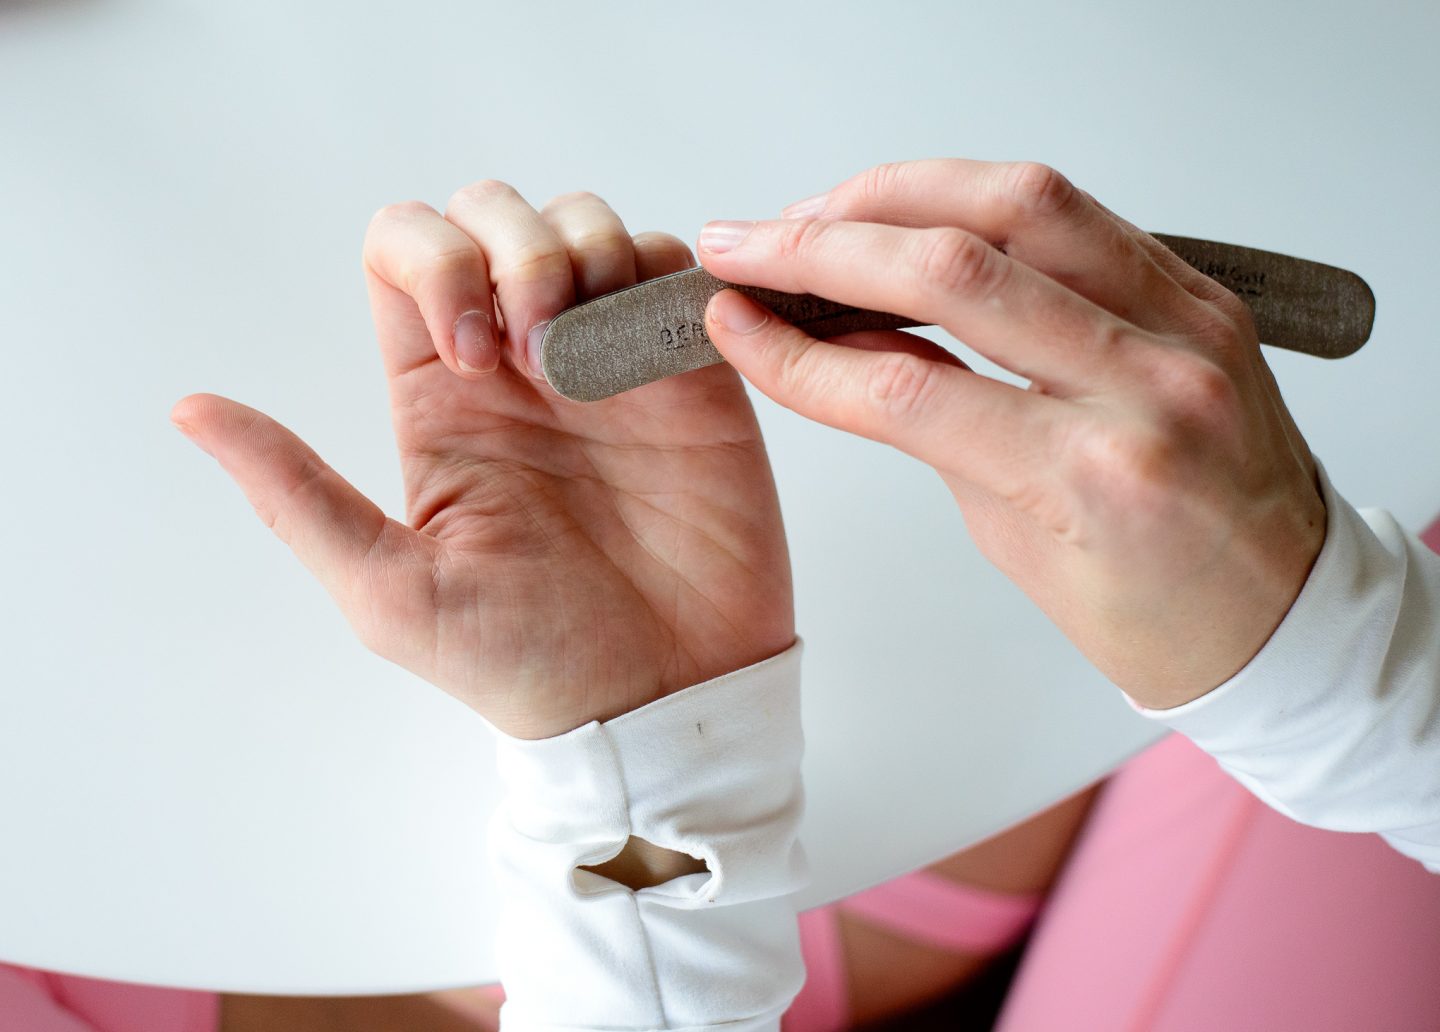
- PREPARE NAIL. Start out with a clean set of nails. Gently push cuticles back. Use 180 grit file to roughen surface of nail.
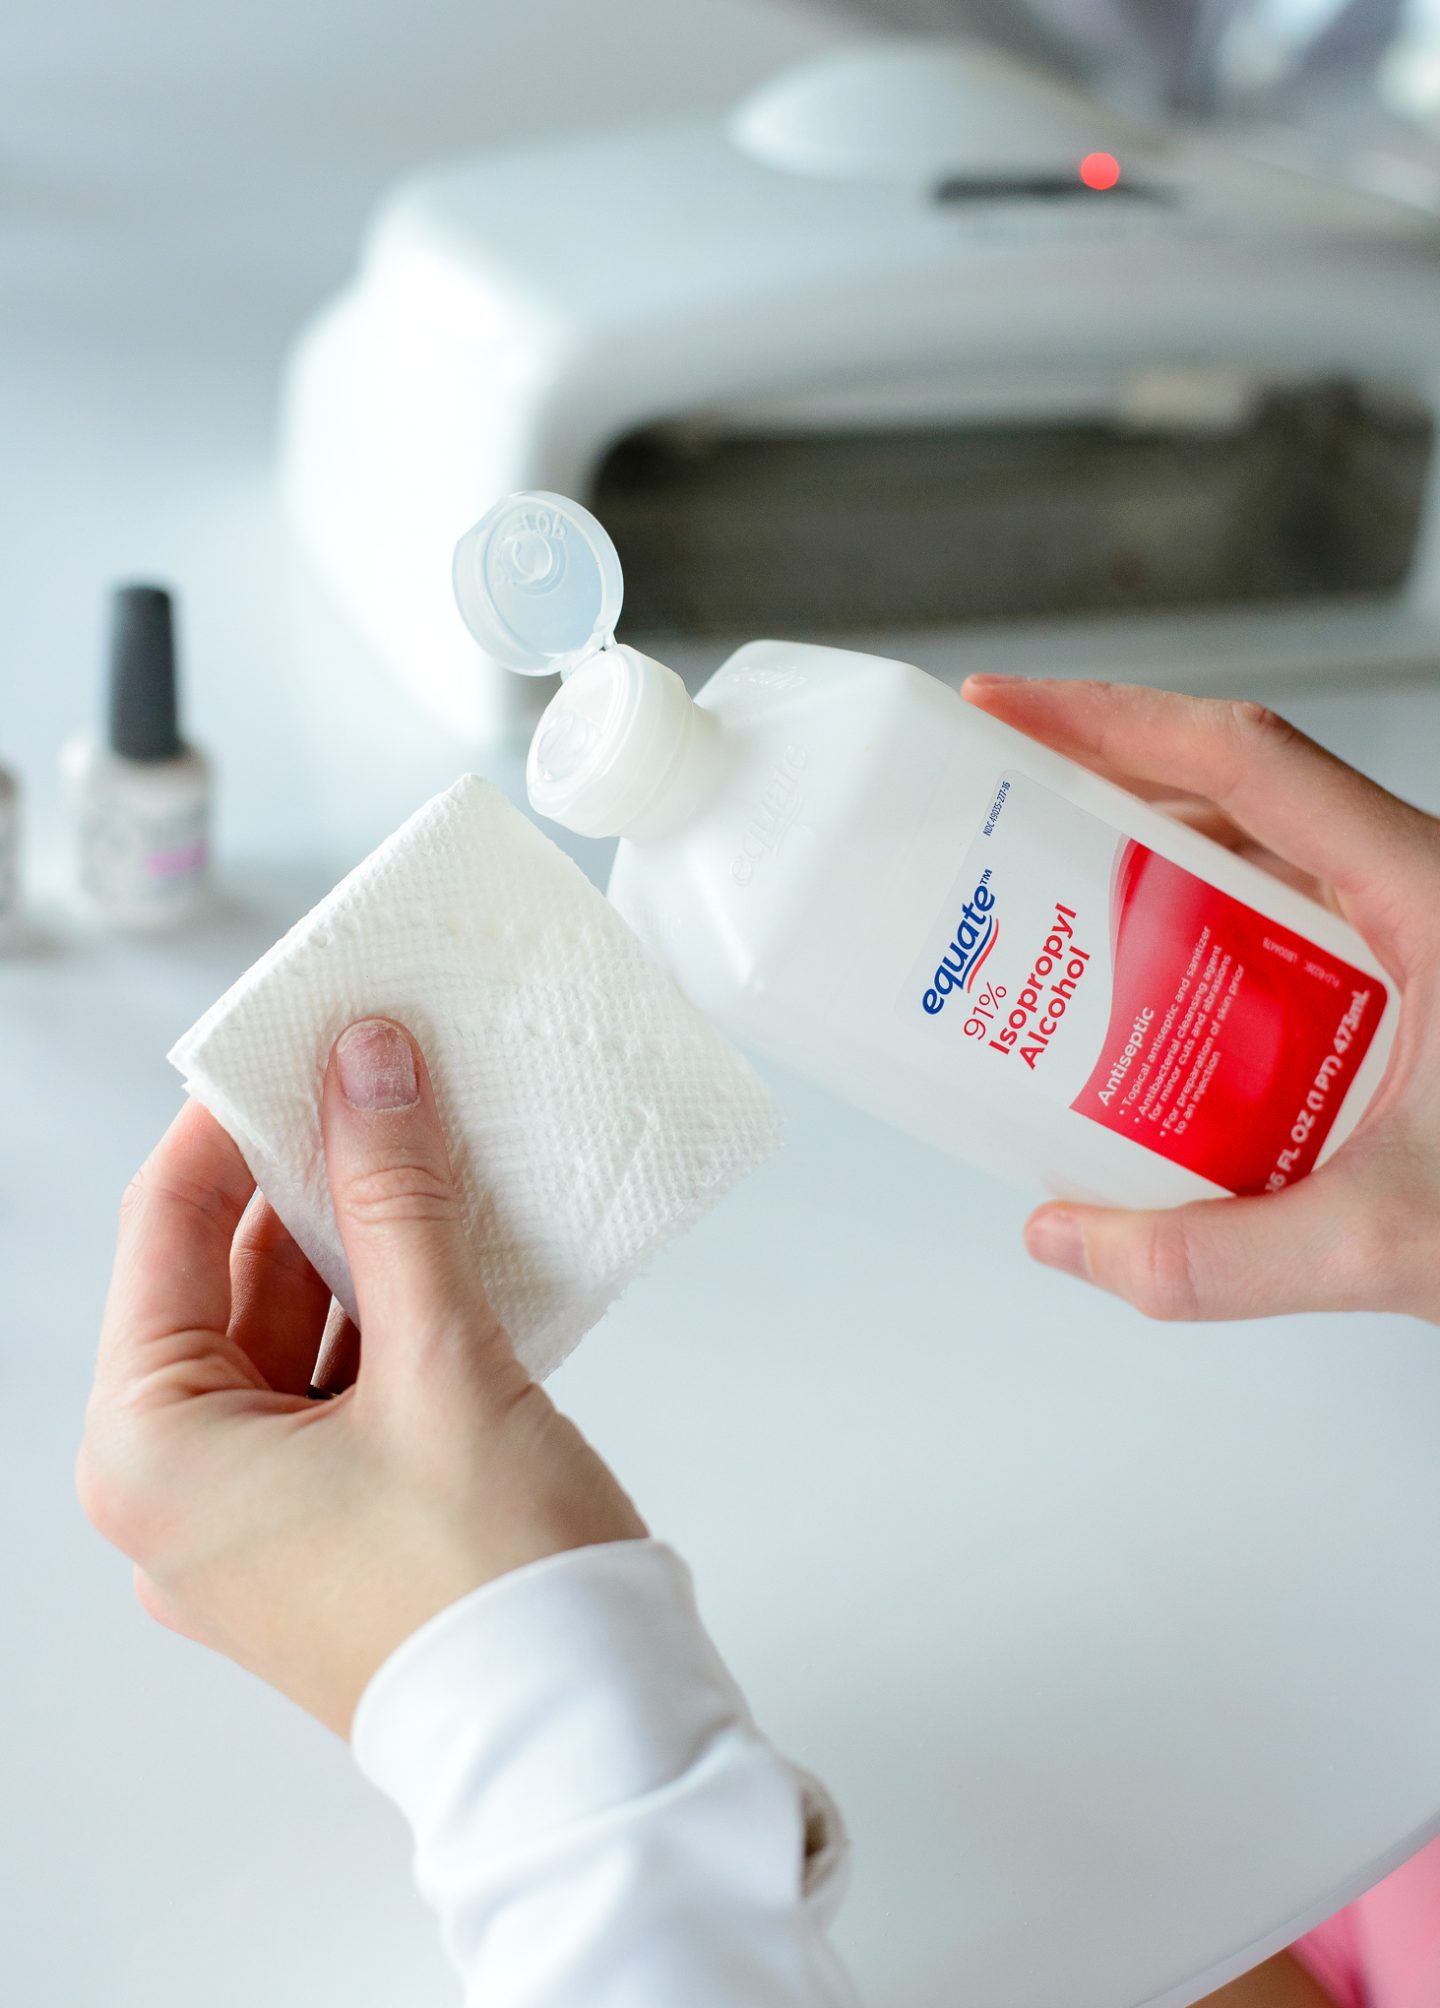
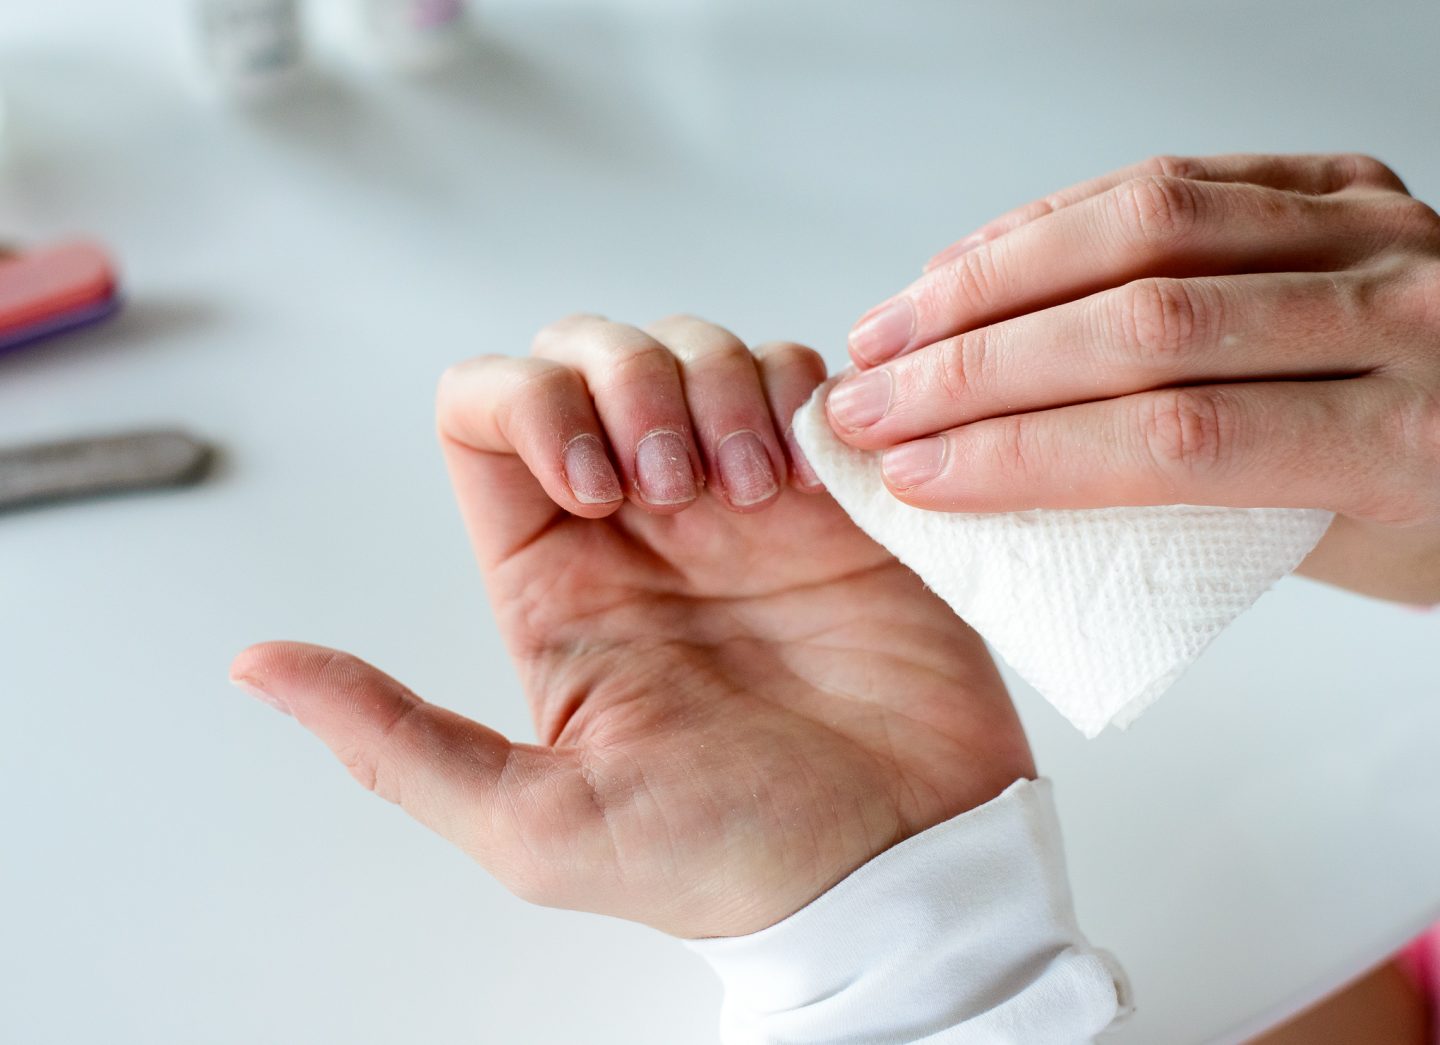
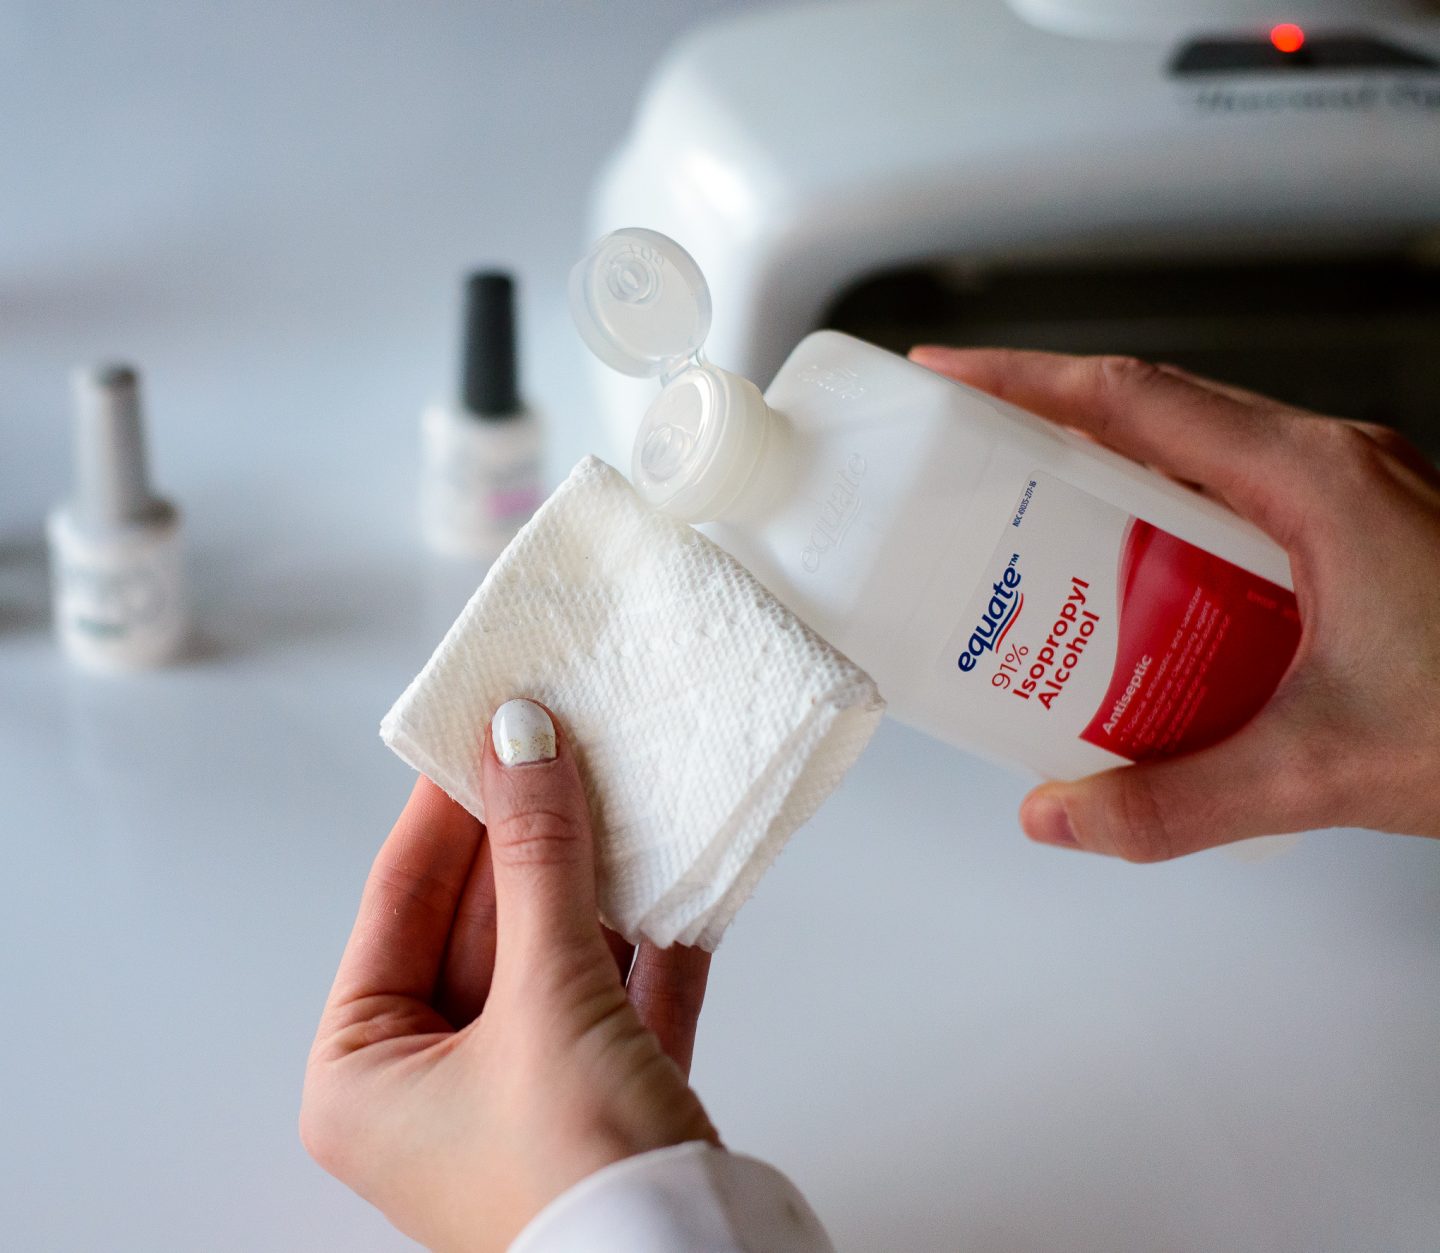
- CLEAN NAIL. Use a lint-free cloth (paper towel) soaked with 90% alcohol to clean the nail and cuticle from oil and debris.
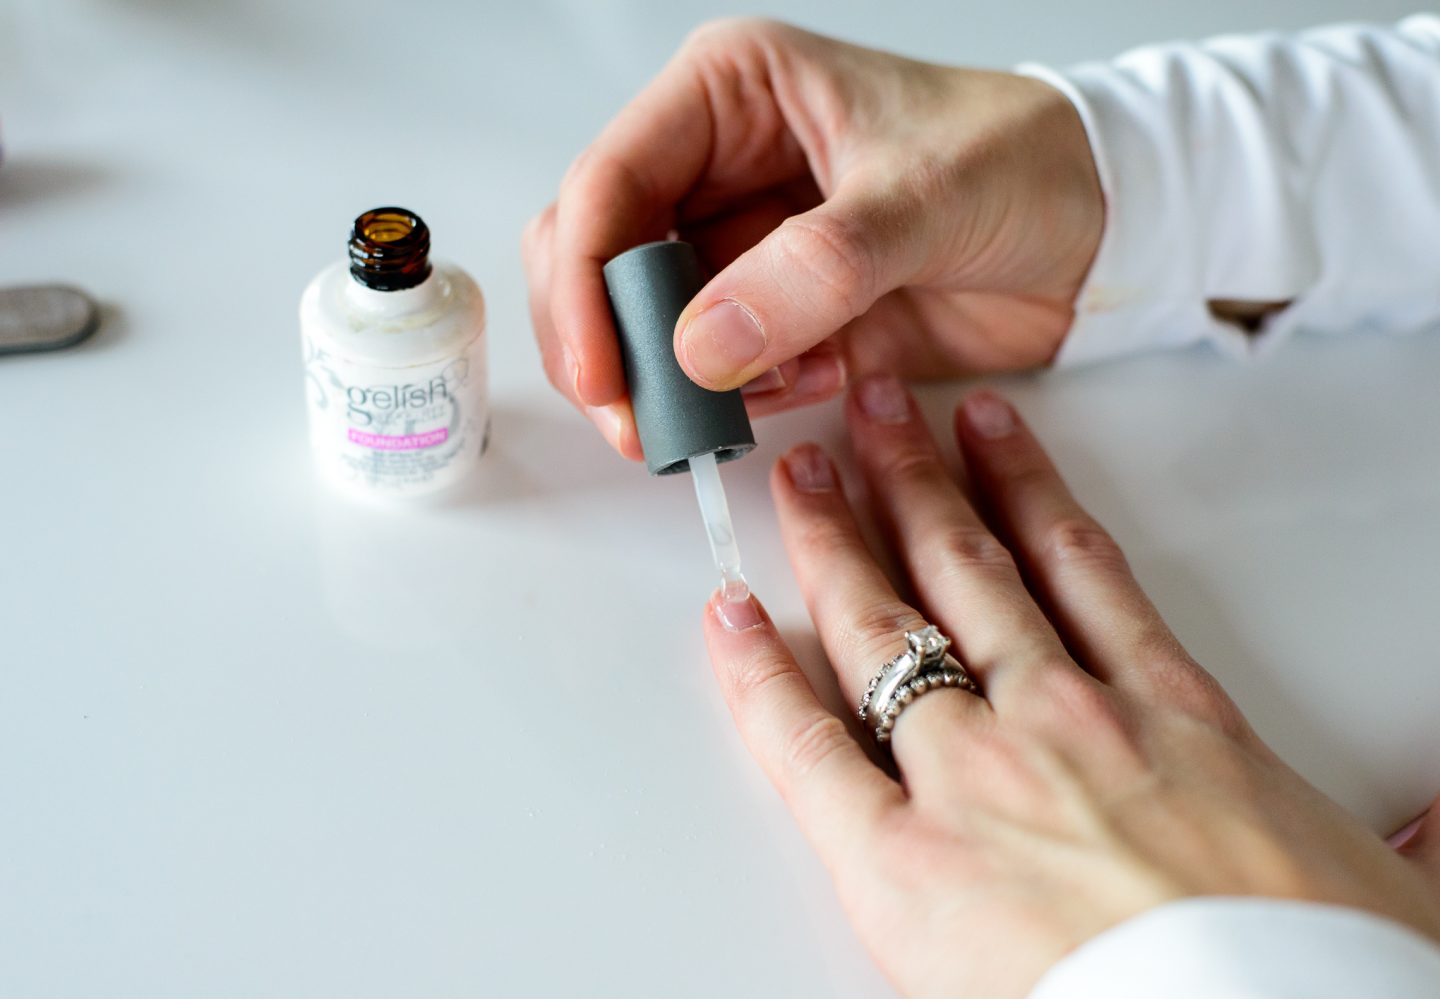
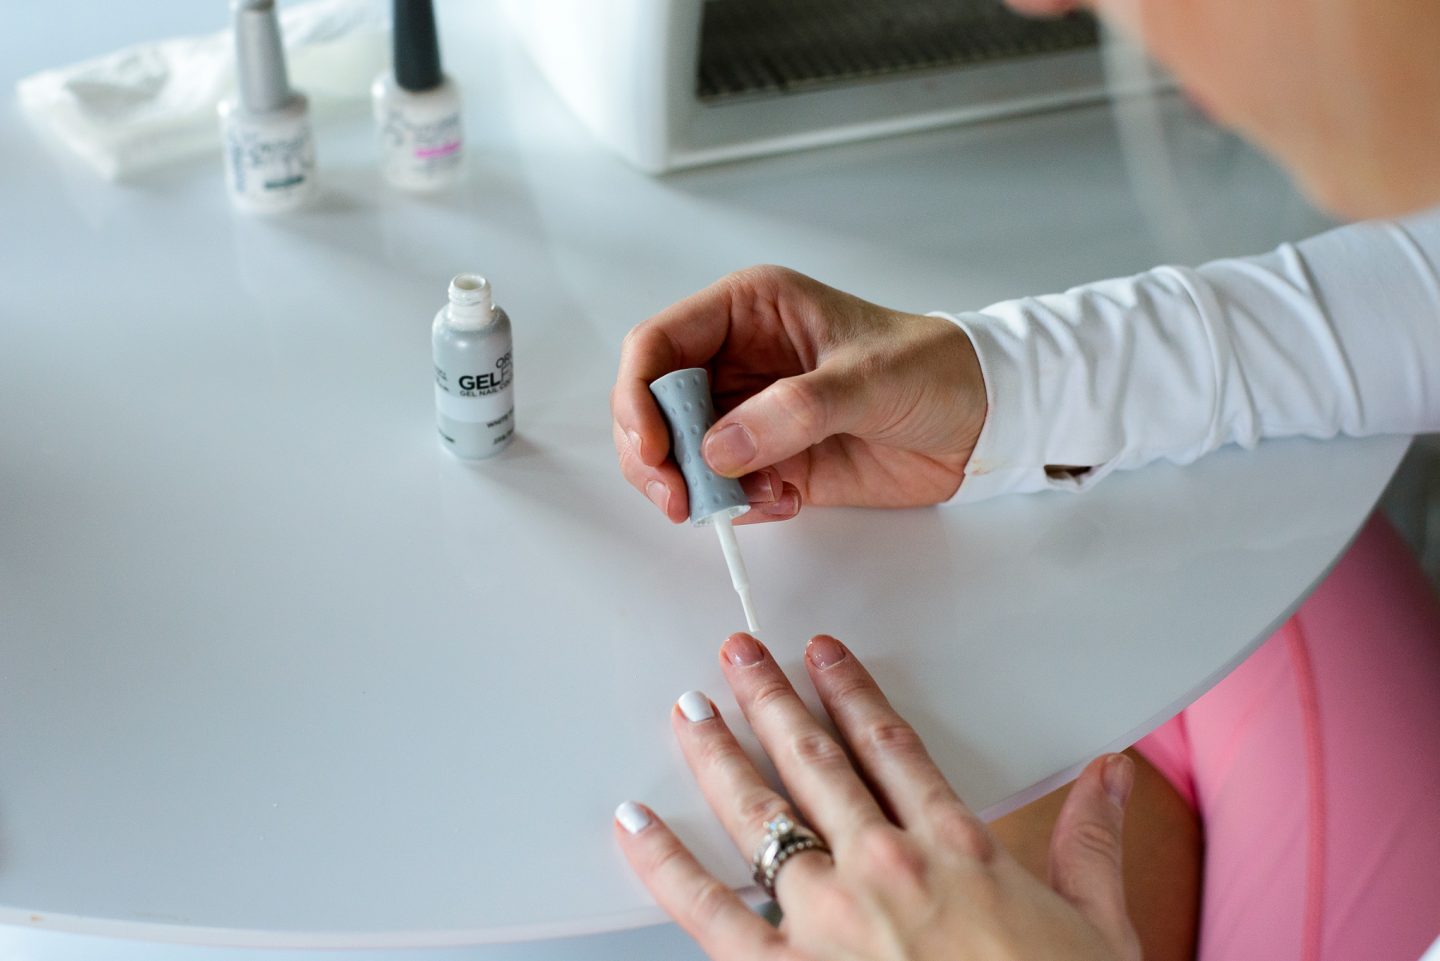
- FOUNDATION COAT. Apply a thin coat of foundation gel, being careful to not make this coat too thick. Applying too thick of a foundation coat can lead to the polish peeling and lifting. Clean any excess that gets on the skin or cuticle by brushing it off with a brush dipped in 90% alcohol. It is important to make sure that none of the product bakes to your skin since your skin will slough off– those cells that are bonded to the product, and this will cause the polish to lift off the nail and chip.
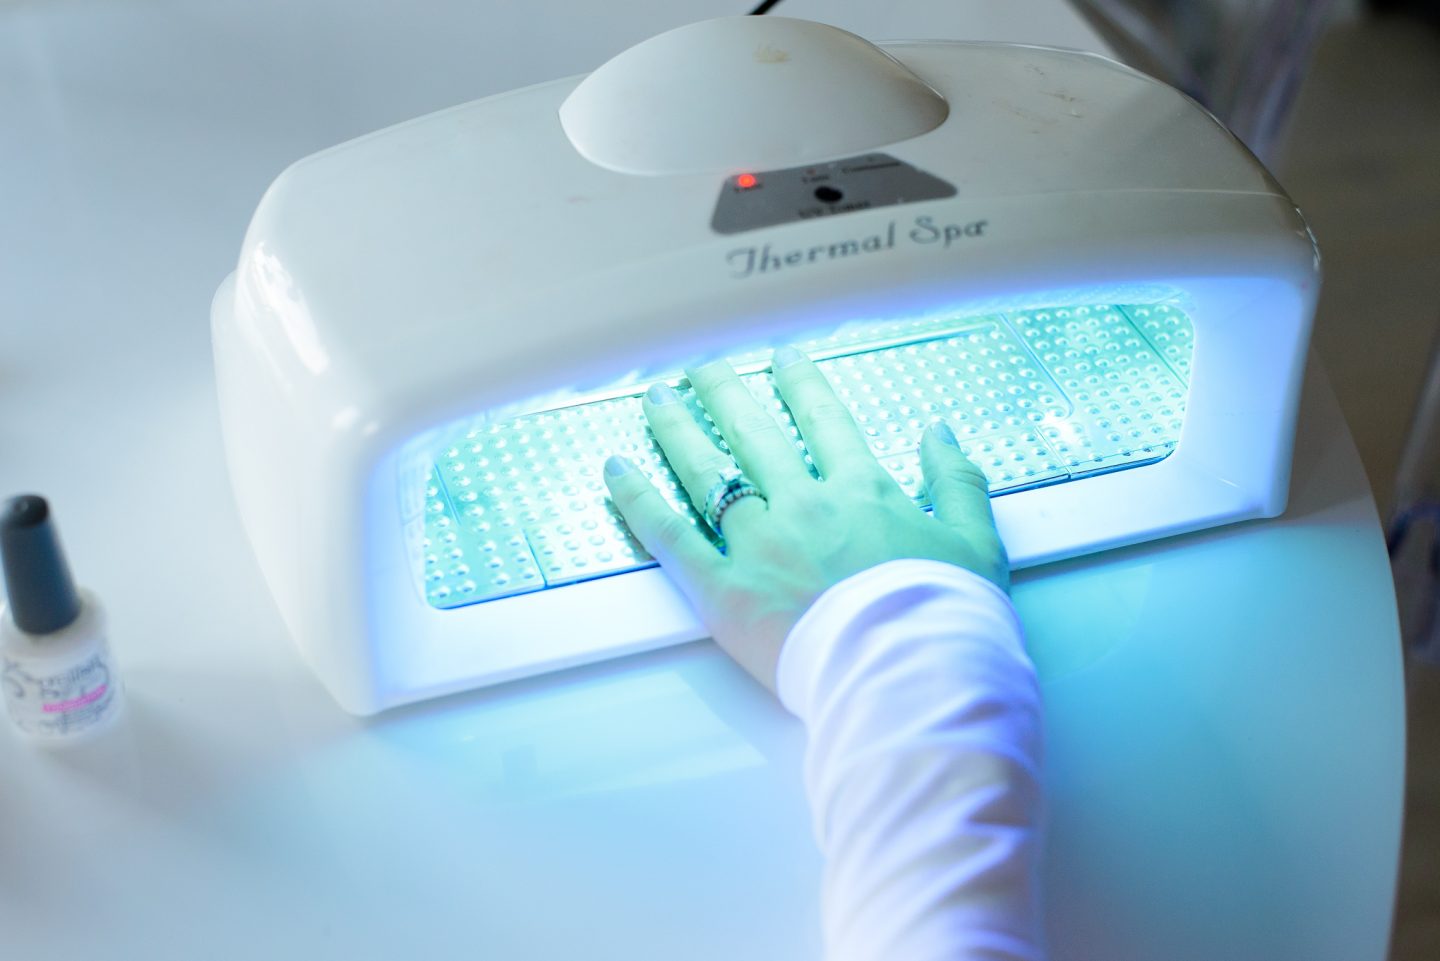
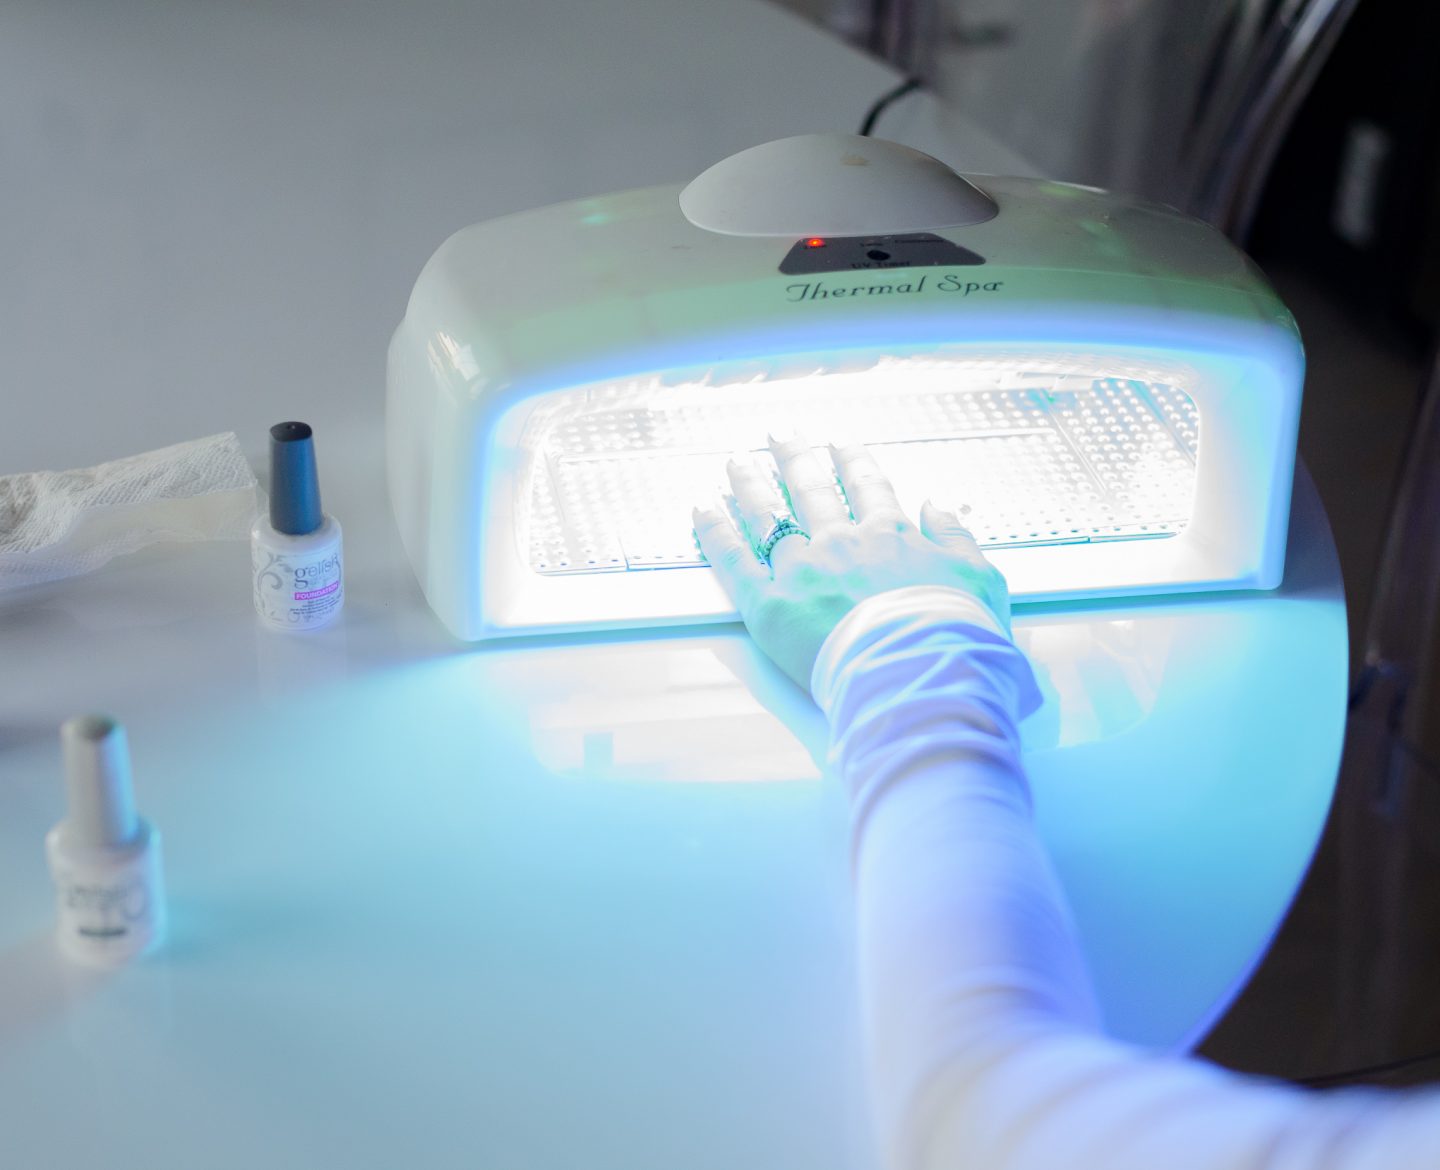
- UV LAMP. Cure for 2 minutes. Follow the directions on your lamp. UV lamps take longer to full cure the polish compared to LED lamps. Here, I’m using a UV light. I really need to upgrade!
- ADD COLOR. Apply 1st coat of color polish. You’ll notice the 1st coat of color is slightly streaky and not very opaque – this is normal! Make sure to clean any excess off skin and cuticles. Favorite color kit is THIS
- UV LAMP. Cure for 2 minutes. Follow directions on your lamp!
- APPLY COLOR. For light colors, you may only need 2 coats. For darker polishes, you’ll need 3 coats. I chose to only do 2 coats of white polish since I would be doing an added glitter coat.
- UV LAMP. Cure for 2 minutes. Follow directions on your lamp!
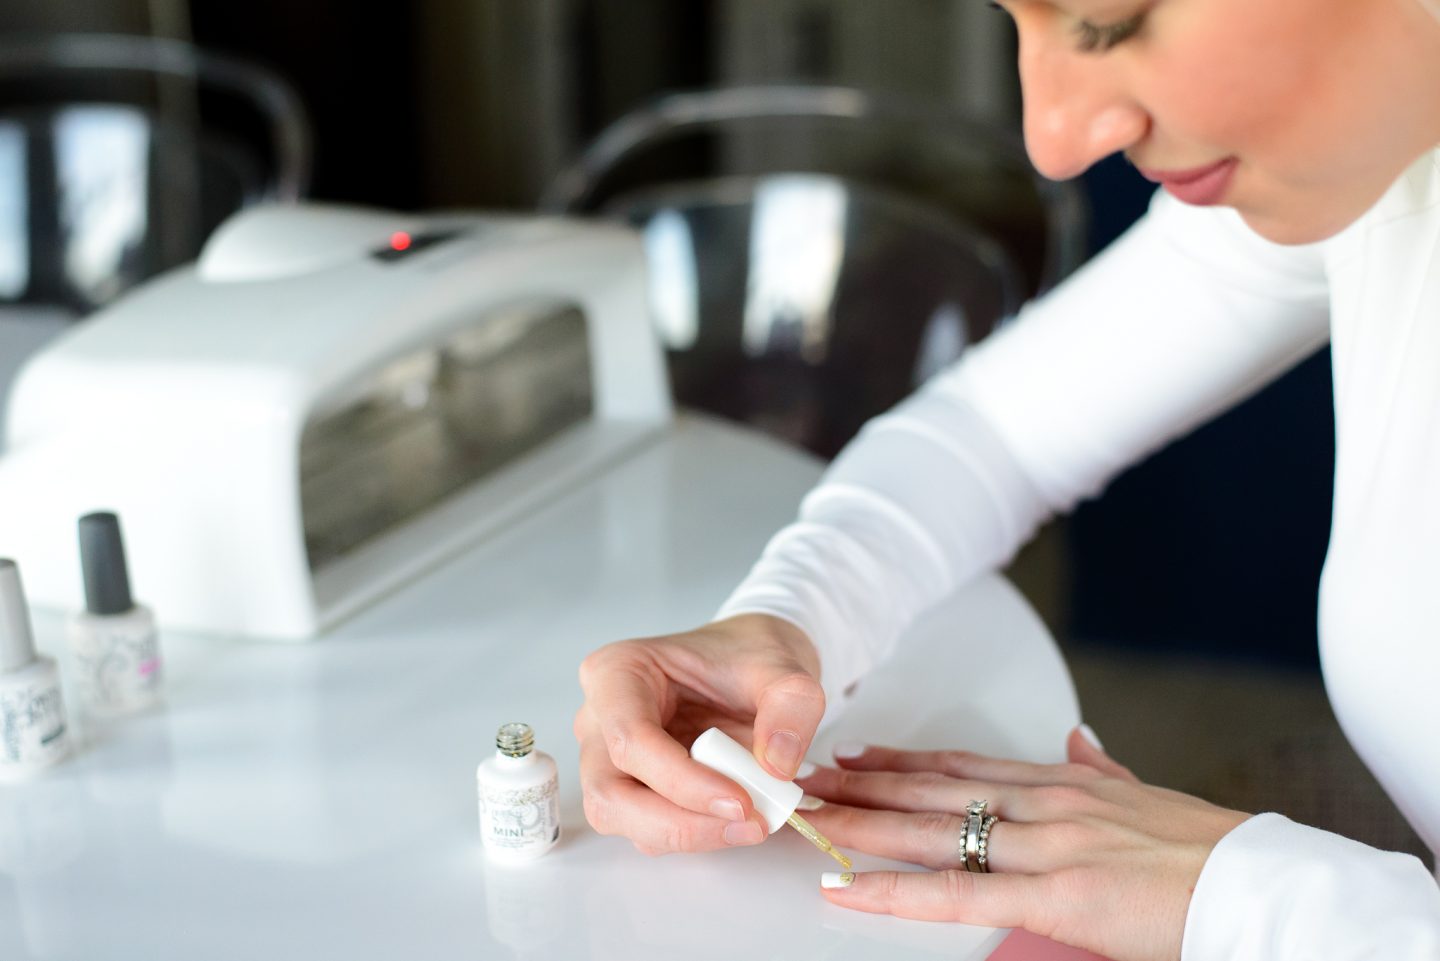
- APPLY COLOR. Apply an optional 3rd coat if the color is still streaky. I used a glitter polish lightly brushed on, staying heavy surrounding my cuticle and very light along the nail tip (think, ombre-style).
- UV LAMP. Cure for 2 minutes.
- TOP COAT. Apply a thin top coat. Be careful not to apply too much–it is very thin and the excess will run off to the edge of the nail. If it does this, it will pool up and will lift off very easily within the 1st week. Keep all polish away from the edge and cuticle!
- UV LAMP. Cure for 2 minutes.
- REMOVE TACKY COAT. Use a lint-free cloth (paper towel) soaked with 90% alcohol to remove the tacky residue coat. Yes, you can use the same towel used in step #2.
Voila! Enjoy your Gel Manicure!
Scroll down for tips!


TIPS:
- Do not waste your money on the starter kits. The pH bond is simply rubbing alcohol in an expensive bottle. Not necessary, but might help if you’re having problems in the future with polish lasting.
- Apply several very thin layers– no thick ones! Think, “thin to win”
- I find it easier to complete 1 hand at a time.
- Polish the edge of your nail tip. Meaning, brush the polish from the nail bed to the edge, and all the way over the edge of your nail to cap it off. Your mani will last longer!
- Yes, you can mix and match gel polish brands.
- To remove nails: Do no peal off your gel polish! This will damage your nails. Instead, gently file off the top clear coat — no need to file deep into the color coats. Soak 1/2 a cotton ball in pure acetone and secure the cotton ball against your nail with a small strip of aluminum foil wrapped around your finger tip. (This lets the acetone soak into the gel polish) Leave on for 10-15 minutes. Remove foil. Polish should lift right off!
- Polish lasts longer when your nails are strong. I use THIS GELATIN POWDER and it’s been a MIRACLE! It doubles my nail strength, which helps my mani polish last 2-3 weeks. Pedicures last at least 4 weeks.
- These exact foundation and top coat bottles lasts me 2 years. (and I’m a nail junkie!)
- Both UV + LED lamps work great. LED lamps are simply faster.
- Snag THIS KIT for all the polishes + alcohol + acetone in 1. Highly recommend!
COLORS!
- burgundy, hot pink, plum, emerald green, lavender, mauve
- deep blue, mauve, rose, plum, grey, orange
- white, plum, deep green, ivory, tan, red
- white, deep purple, deep green
- dark grey, white, blue, rose, mauve, light pink
- clear sparkle, pink sparkle, grey, red, white, black
- dark grey, light grey, blue grey, rose, mauve, pink
- THIS KIT IS MY FAVORITE!
Have you tried doing your own Gel Nails?? Have any questions or concerns? Drop them in the comment section below and I’ll answer!

Love your post! Do you use regular polish for the color? What are your favorite nail colors? Thanks!
Author
Hey Allison! Ya know, I have used a regular polish in between the base and top gel coat. Typically, a gel color works best. But I just added my favorite colors into this post with direct links! Let me know if you want any other color recommendations! xo
Where do you recommend buying the gel colors? I bought the brand gelish from Sally’s but it’s a mini bottle for $13. Any recommendations?
Author
Hey Lauren! Yes, thanks so much for asking! I went ahead and linked a few of my absolute favorite colors in the post. It’s right after the “TIPS”. Let me know if you want any other color recommendations! xo
I buy my gel nail polish Fromm sally or amazon which has sets for much cheaper and their still good quality!
Author
Yes! I usually get mine from Walmart online (I linked my favorite colors in the post), Sally’s and Amazon. Isn’t it great when they go on clearance?! xo
Thank you for this post! I’m excited to try! What are some of your favorite gel nail polish colors you use? Is there a brand you have found to last longer? Love your blog and your adorable family! You are the first Janene I have seen that has the same spelling as my name!!
Author
Stop it!! This is too funny! Thanks for stopping by to comment and share, made my day seeing your name. I’ve used Gelish, Orly, Fingerpaints, and ASP. Haven’t had problems with any of those brands. I’m so glad you asked about the colors! I went ahead and added my go-to favorites! Let me know if you want any other suggestions. Thanks for stopping by! xo
Hey Janene! I’m a licensed cosmetologist and just wanted to give a tip to people trying this for the first time. I would recommend using a course buffing block rather than a nail file to rough up the surface of the nail. It’s very easy to overfile the nail and cause it to be thin, which is painful. Whereas a buffing block won’t cause this to happen. Otherwise, this is the same technique we use in the salon!
It is important to note as well that having gel on your nails makes them feel stronger, the gel is an added layer of protection. When you remove the gel, your nails seem weaker but this does not mean your nails are actually weak. It is because you’re used to that extra layer of protection.
Author
Jordan!! AMAZING! I’m so thankful you left this tip, I’ll edit my post to include it! And thanks for sharing this insight about nails feeling weaker after the gel comes off. You’re so kind! And i’m thrilled this guide looks like I’m on track lol! Thanks again, babe! xo
Ok, I’m obsessed with your blog and instagram. It’s just fun, happy and absolutely adorable with the matching outfits. Beautiful home and family. 💕
Author
Aww, Thank you so much Deena! xo
I am so excited to try this! Love gel nails but never find the time to go get them done with a toddler running around and husband that works 24 hr shifts. I had no idea you could do this at home…where have I been 🤦🏼♀️ Great post!!
Author
Heather!!! YES! This one is for you! I usually do my nails at night when the kiddos are sleeping and my hubby and I will put on a movie. Hope this guide is helpful for ya!!! xo
Hi there! How many watts is your lamp?
Author
I bought it so many years ago, I’m not sure! Best of luck!
Such great tips! I need to start doing this at home again soon or it will never get done! haha.
Question. Your husband doesn’t mind the smell when you are chilling together?
Have a blessed day!
Tranda
Author
Hey girl! And nope, he’s actually never said anything to me about the smell! I remember when we first got married, he never was bothered by regular polish. Thank goodness! Because it would bother me lol!
Hi JANENE. Thanks for sharing Gel Nail DIY tutorial . I have my nails weaken I’ll do following by tutorial. However, I bought a nail strengthener from https://www.womenangle.com/best-nail-strengthener/. My nails start better now. I also would like you to give me suggestion about the trendy tones of sexy nails? Thank you in advance for your kindness.
Author
Hey! I don’t quite understand your question..
I love white! It is very classic
Author
Aww thank you!!!
I have one UV-LED light. No idea what’s the difference.. 😕
Do you happen to know
Author
The main difference is LED dries the gel polish so much faster!
Hi, Janene! Thank you for your post! I’m a blogger at theblossomandbud.com
I was about to recommend the Knox gelatin, I get it from Walmart. Can you tell me if there’s any difference in the gelatin you use? Also, is it importantly to take collagen and gelatin?
Author
Hey Jackie! I honestly have never used gelatin to help. And since my collagen works SO well I’ll probably never quit. Collagen helps tremendously for aging skin so I’d definitely suggest the collagen for the broad beneficial factors! Hope that helps! xo
I have an odd question for you! I’ve been doing my nails at home for 6 years now and never had any issues! I love the way gel polish looks and feels! However, within the last couple months, the skin under my nail (where the nail and the skin meet underneath the nail, hard to explain sorry!) has become really unhealthy. At one point, it even felt like open wounds/blisters. Now it looks like peeling/cracking skin. I’ve become a lot more careful with trying not to get the product on my skin but the problem remains. Do you have any insight into this? Or have had any similar issues?
Author
Hey! That’s super odd if you haven’t changed anything. Could be hormonal? As long as I never peel off the gel polish then I never have any issues. I would take a break from all polish until you feel like it’s back to normal. Defnitely try adding the collagen supps to your daily routine. It’s a night and day difference for me! My body just simply doesn’t make enough on it’s own. Hope that helps!! xo
Hey Janene! Thanks so much for this post! But I am having some issues with my diy gels. When I try to soak mine off, my nails look damaged with the white lines. Is it because I’m trying to take them off too soon? (I take them off after about a week)
Author
Hi Tiffany! I’ve actually never tried taking them off sooner than 2 weeks, so I would imagine 1 week is probably too soon. I wait until the nails start to slightly lift before taking them off and haven’t had any issues with damage. I’ve also noticed a big difference with my nail strength when I take collagen every day. I linked the one I use on this post too. Hope that helps!
Thank you for this post!!🙌🏼 What is the brand of collagen pills that you take?
Ah, never mind, I found the type of collagen you take. You’re sweet though to link everything in your post!
Have a fabulous day!
What brand of LED light do you use?
Author
Hi Mabel! It sold out years ago but I linked a few in this post for you to click on 🙂
I’m having issues with my gel lifting off within 1-2 days of my at home mani…
This is very frustrating as I work with the public and they see my nails all day long.
Any suggestions???
Thanks!
Love all your posts!
Janene this blog is brilliant. My 17 year old granddaughter turned me on to home gels but I struggled with technique. You nailed it (pun intended!).
One question. My nails are relatively short and I struggle getting polish on the tips. Any suggestions?
Awesome post! Thanks for sharing the information and keep up the good work.
Author
Thank you so much! I appreciate that! xo
Awesome post I might want to thank you for the endeavors you have made in composing this intriguing and educated article.
VolgoPoint Spider Nail Gel
Author
Thanks so much for sharing! xo
Love this post! I’ve started DIY’ing with your technique and not only is it better on my budget but my polish is lasting longer than when I did splurge to get it done professionally! The ONLY thing I miss about going to a spa is the cuticle removal. Any tips? I hate having thick/visible cuticles (even after I push them back). Thanks!
Author
That makes me SO happy to hear the tutorial was helpful!!! For cuticle removal, I bought the metal nail tool the looks like a fork. One side pushes it back, while the other side is a fork that cuts the cuticle like butter. It’s awesome!
I didn’t know that you could apply 3 coats. My wife and I don’t know how to do our nails. We’ll have to go to a professional to get the nails worked on.
Hi!! when you took off your previous gel you had little clips that held the acetone cotton swabs on your toes. where did you get those??
Hi there. New to doing my nails at home. I feel like the polish should be completely dry (not tacky) between coats? Is that right, as this takes about 3 – 4 mins each coat. Thx
Author
Hi Cathy! It needs to stay tacky in order for the the next layer to adhere. As long as you follow the directions on your nail product or on this post then it should go perfectly.
Ok I’m going to try this . You’ve convinced me . I’m not the best painter ( think basically Helen Keller doing nails ) 🤭 . Two questions…. in your story highlight your using what look like hair clips to do the removal … are they just called nail clips ? And most of all I looked at the colors you linked , but wondered what the pink was in your story highlights? I’m sure your super busy , but I’m a new follower who I hope you can help out ! Thank you 🙏 ❤️💕
Well, it is a perfect way to polish nails at home using some equipment.
BMG
Janene, I know this is going to sound crazy but I’m obsessed with your pink ballet yoga pants. Where can I get some?
Thanks!
hello, forget the nails… where are those leggings from?!?!? I need them for my daughter and I
I Like Your Blog Very Much. I see Daily Your Blog, is A Very Useful For me.
Hey, this is helpful for everybody. Thanks a lot for sharing this information.
It’s really very helpful for most people. Thanks for sharing this post with us.
I was wondering how long your nails last when doing this!? I want to know if it is worth to money to buy? I’m looking to do this in replace of the salon!
Hey girl! Love this! I’m a beginner at gel nails and WWHHAATT the Ph bond is just alcohol 🤦🏼♀️. Also i have been using Gelish and seen you linked Gellen which i saw on Amazon as well? What is your favorite if you had to pick polish brand? One that is easy to apply as to take off. I tried one brand and it was awful to get off! Thank You ❤
Such a cute family you have. May God bless you all 😀
I love your post –very informative. Also beautiful pictures of yourself and your family. could you please share with me where you get your legging from. i love them.